

Project Name: The Perfect Desk
Year: 2018
Sponsors:
MSI,
Silicon Power,
Plextor,
SilverStone,
Cooler Master,
Serioux
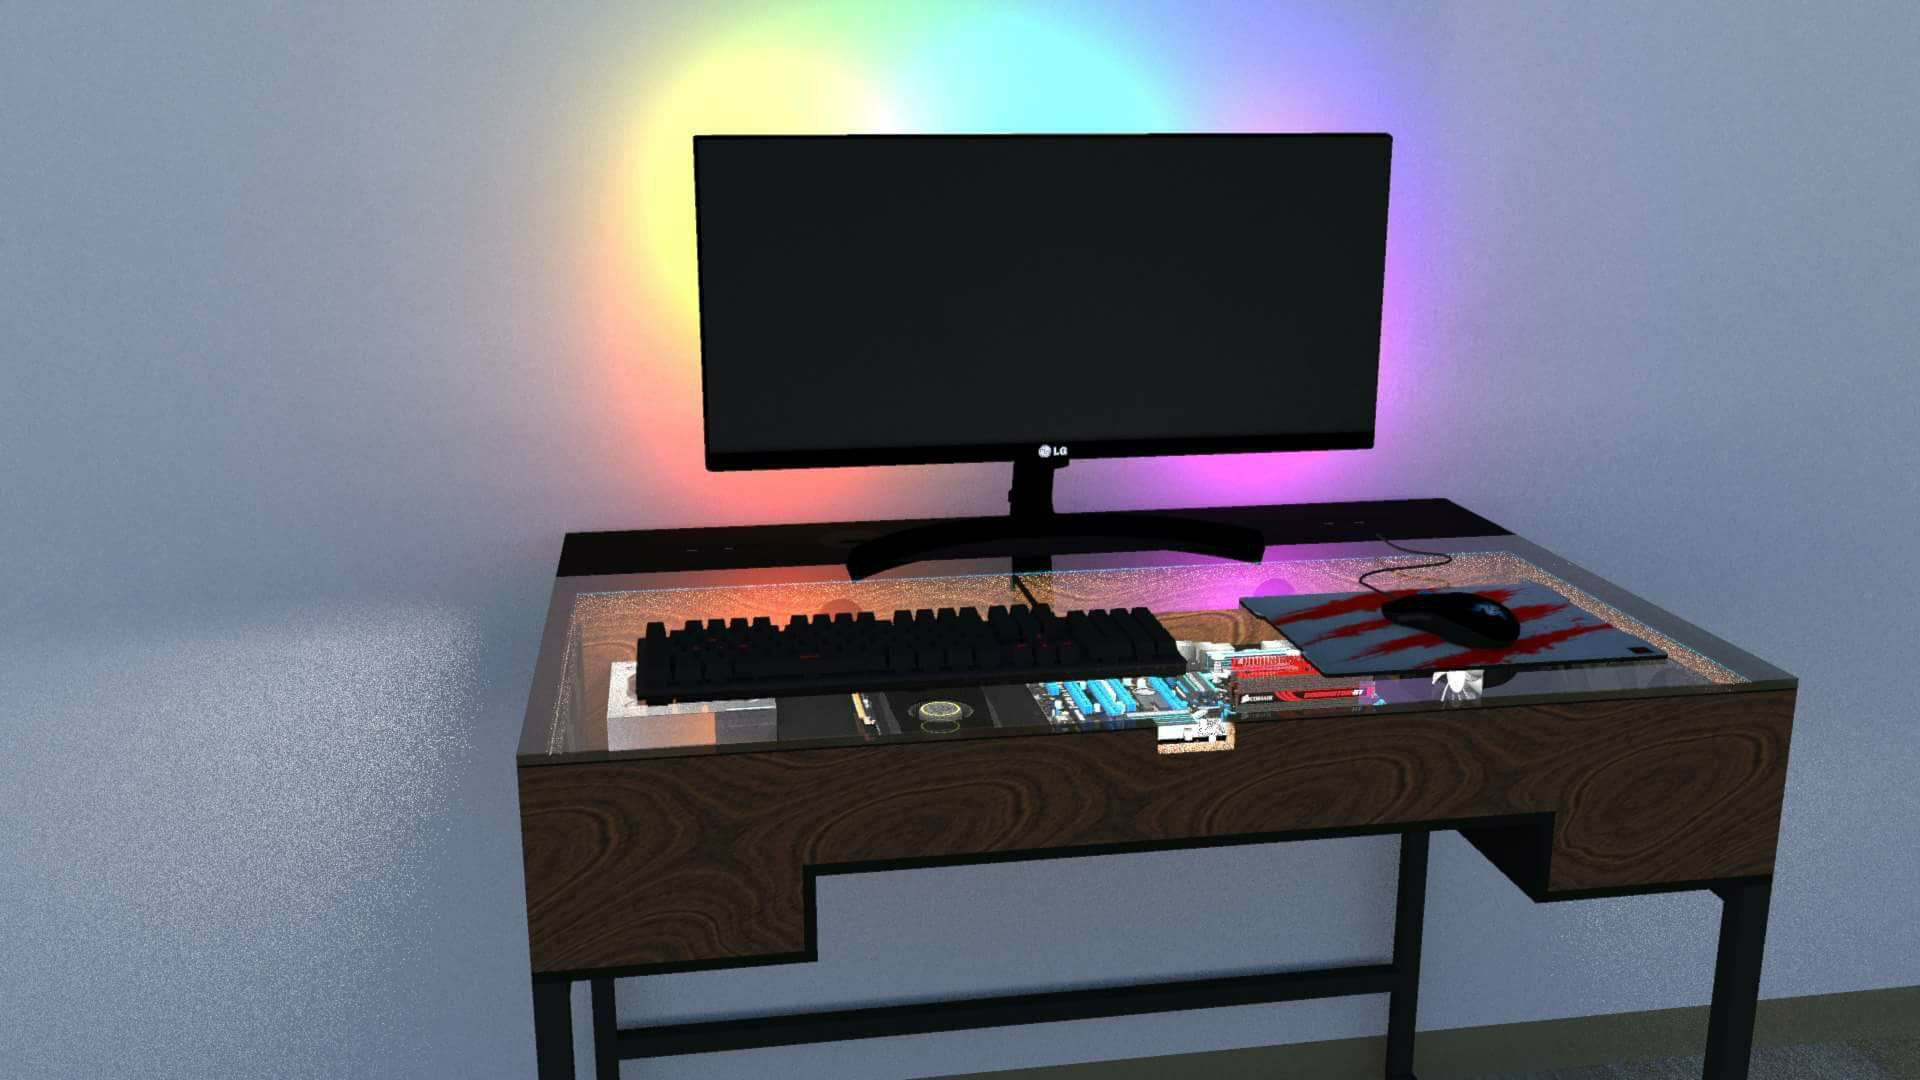
OK, so this is my first project... The first time I actually got into PC modding. I got bored of laptops, and I decided to go with a desktop. However, I generally like to invest both time and feelings into what I do, so if I was to buy a case and use it, it would've had to look good. The downside was that I didn't have too much space dedicated for a desk, so having it displayed on it wasn't an option. And then again, what's the purpose of investing into something that's just going to be tossed under the table? Thus, I got the idea to build my own desk PC, as all available commercial desk PCs out there look just like larger horizontal PC cases.
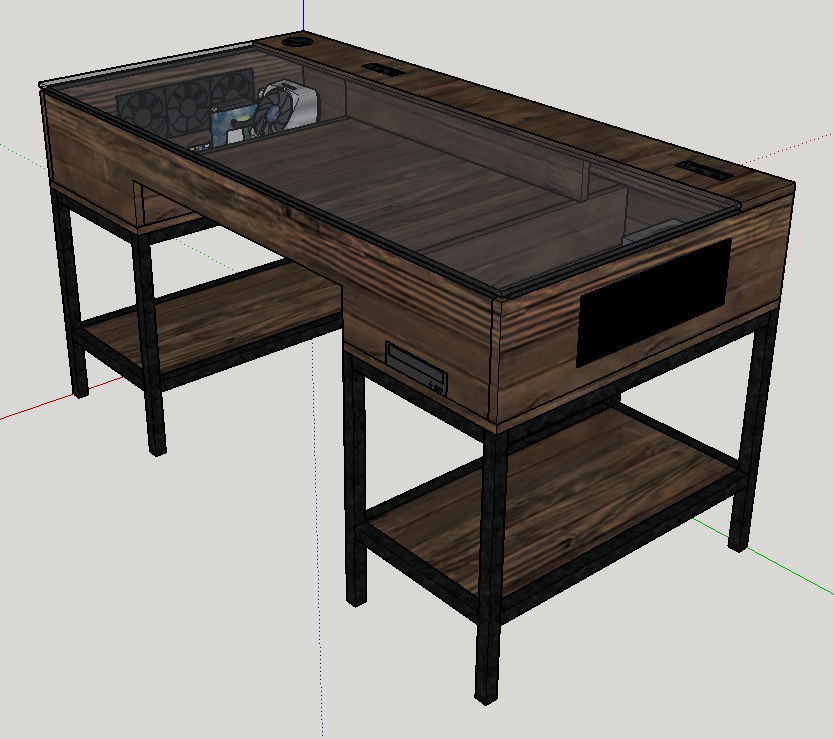
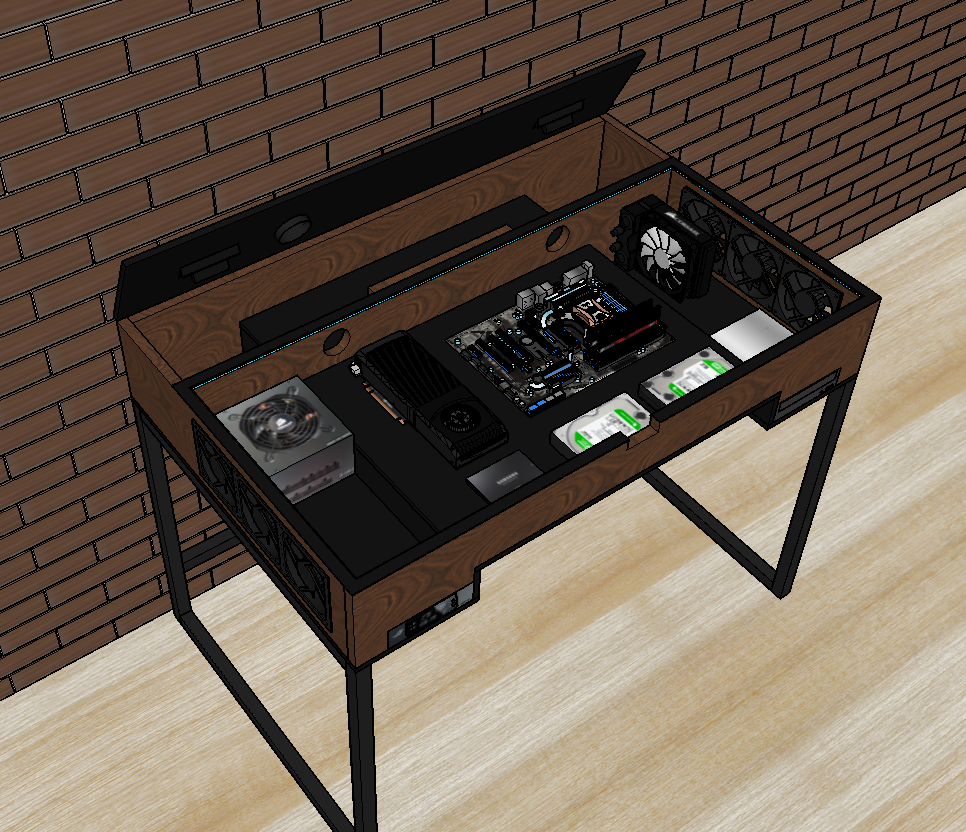
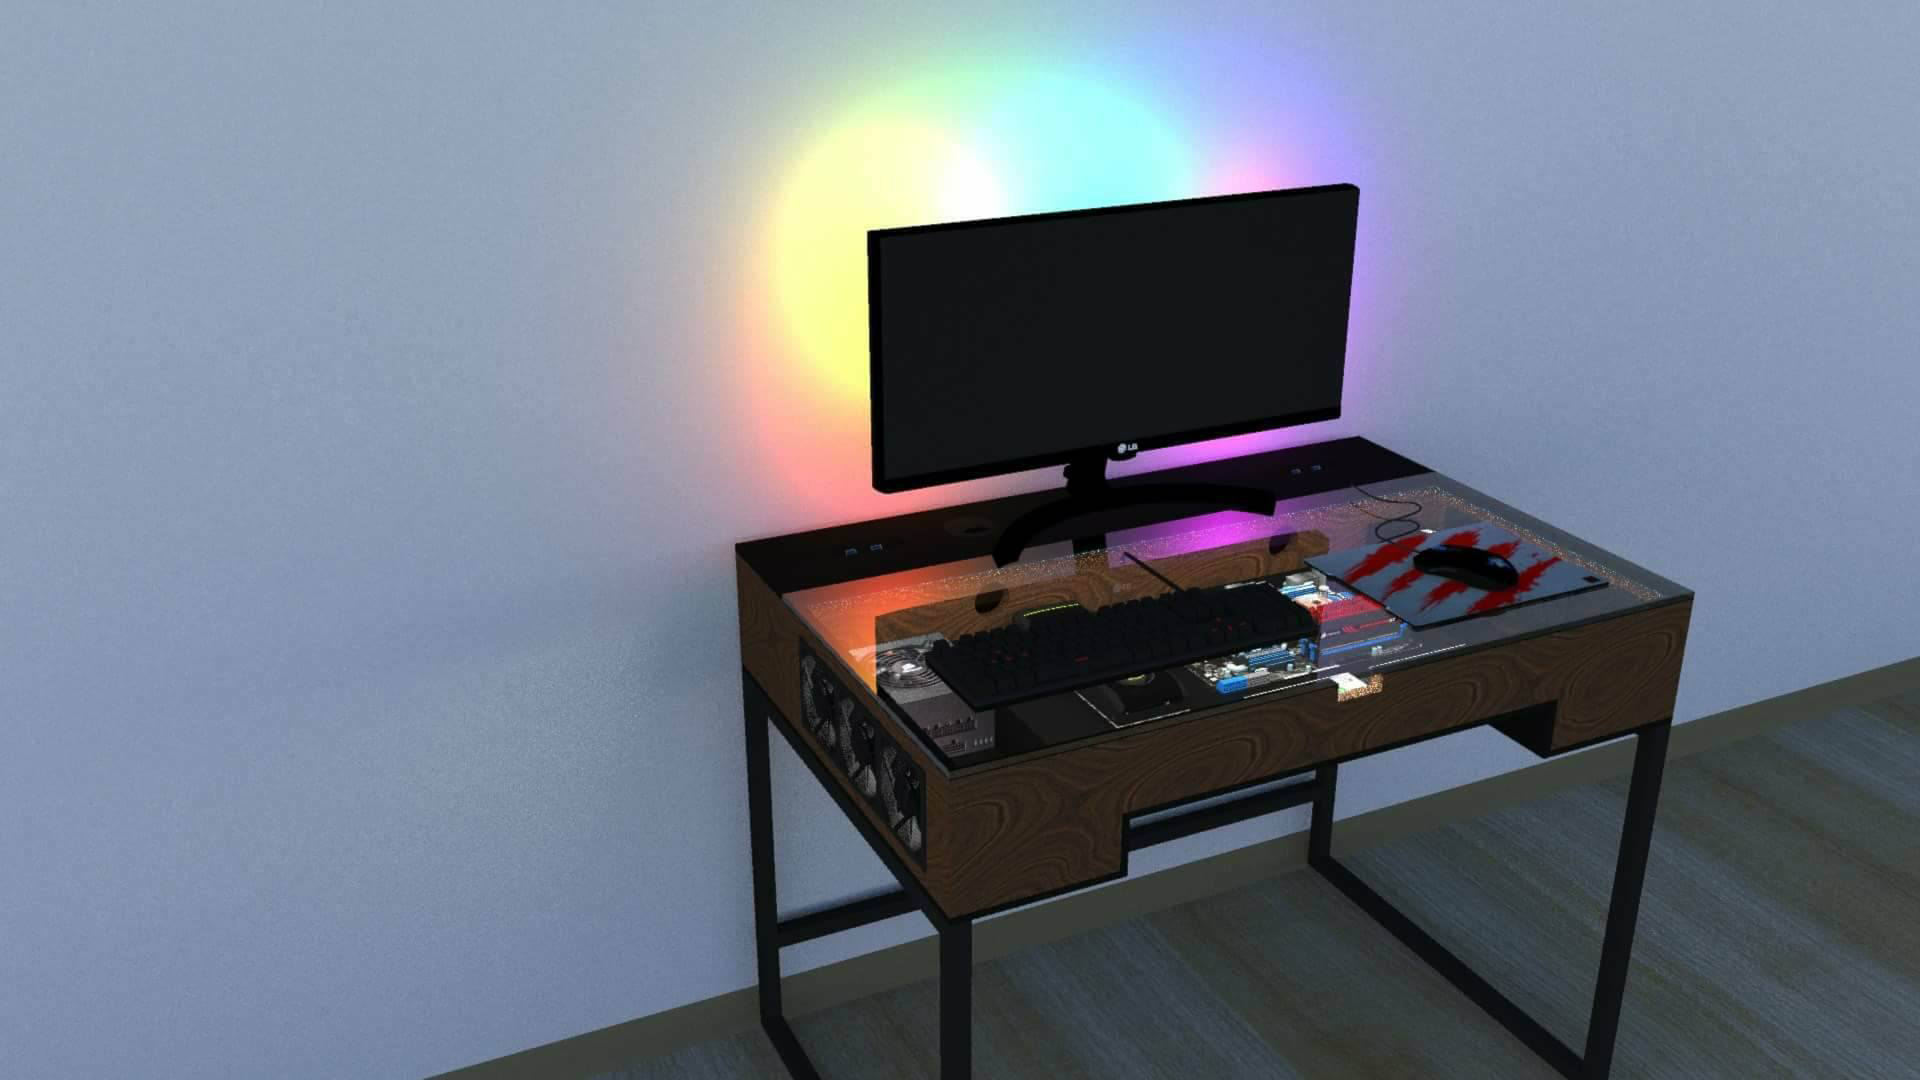
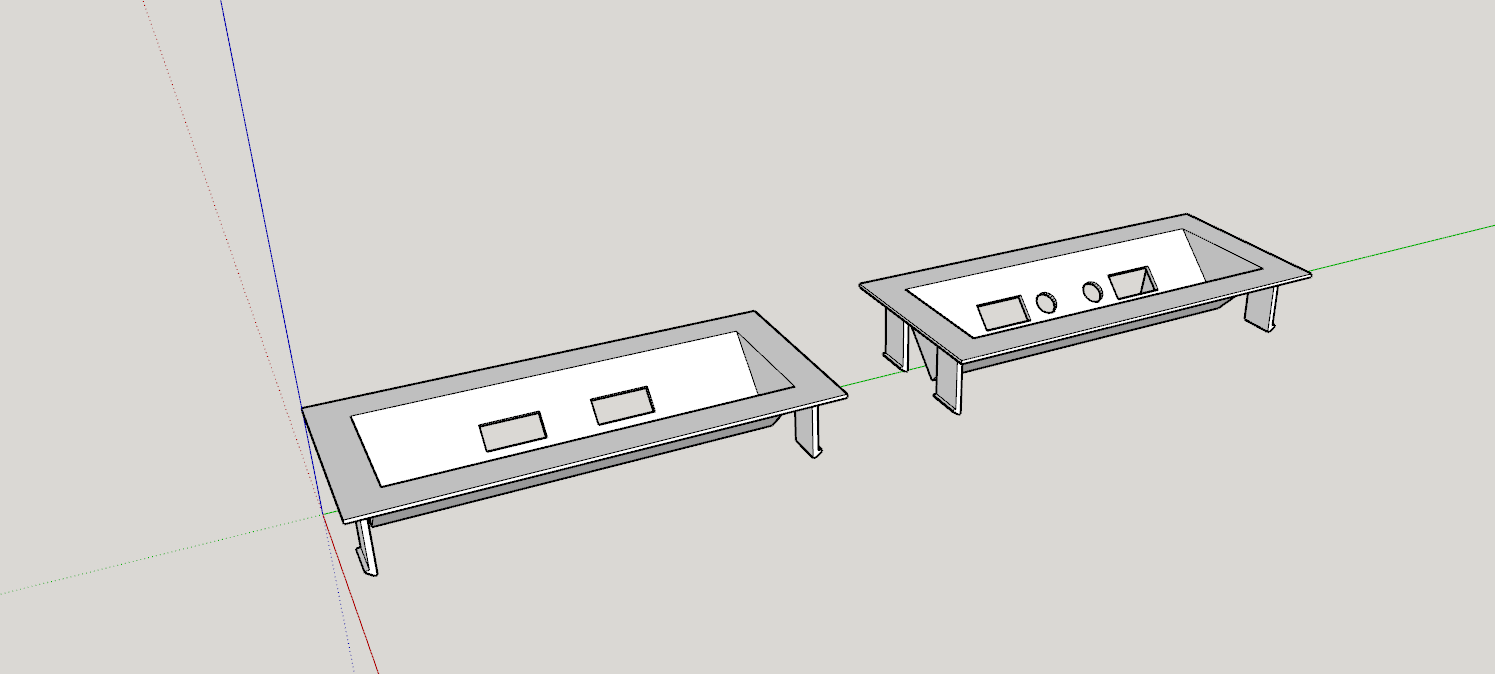
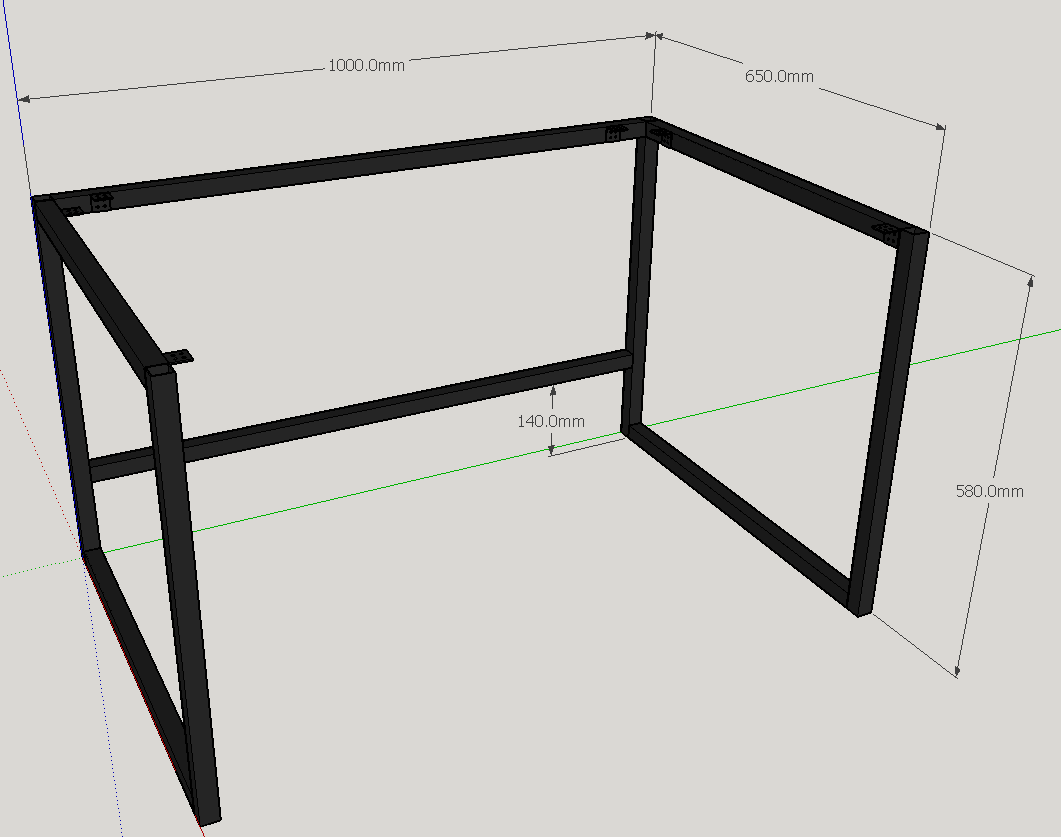
Modeling the desk has been quite a struggle. There have been a few layouts, that were either too complicated or inefficient and choosing the right design was done after carefully planning and calculating dimensions and air flow. I concluded that the best choice in my case were two chambers, one for the PSU and excess cables, which would be covered by a wooden lid, and a bigger one, where all of the other hardware would be layed out under a tinted safety glass lid. I worked in Google SketchUp.
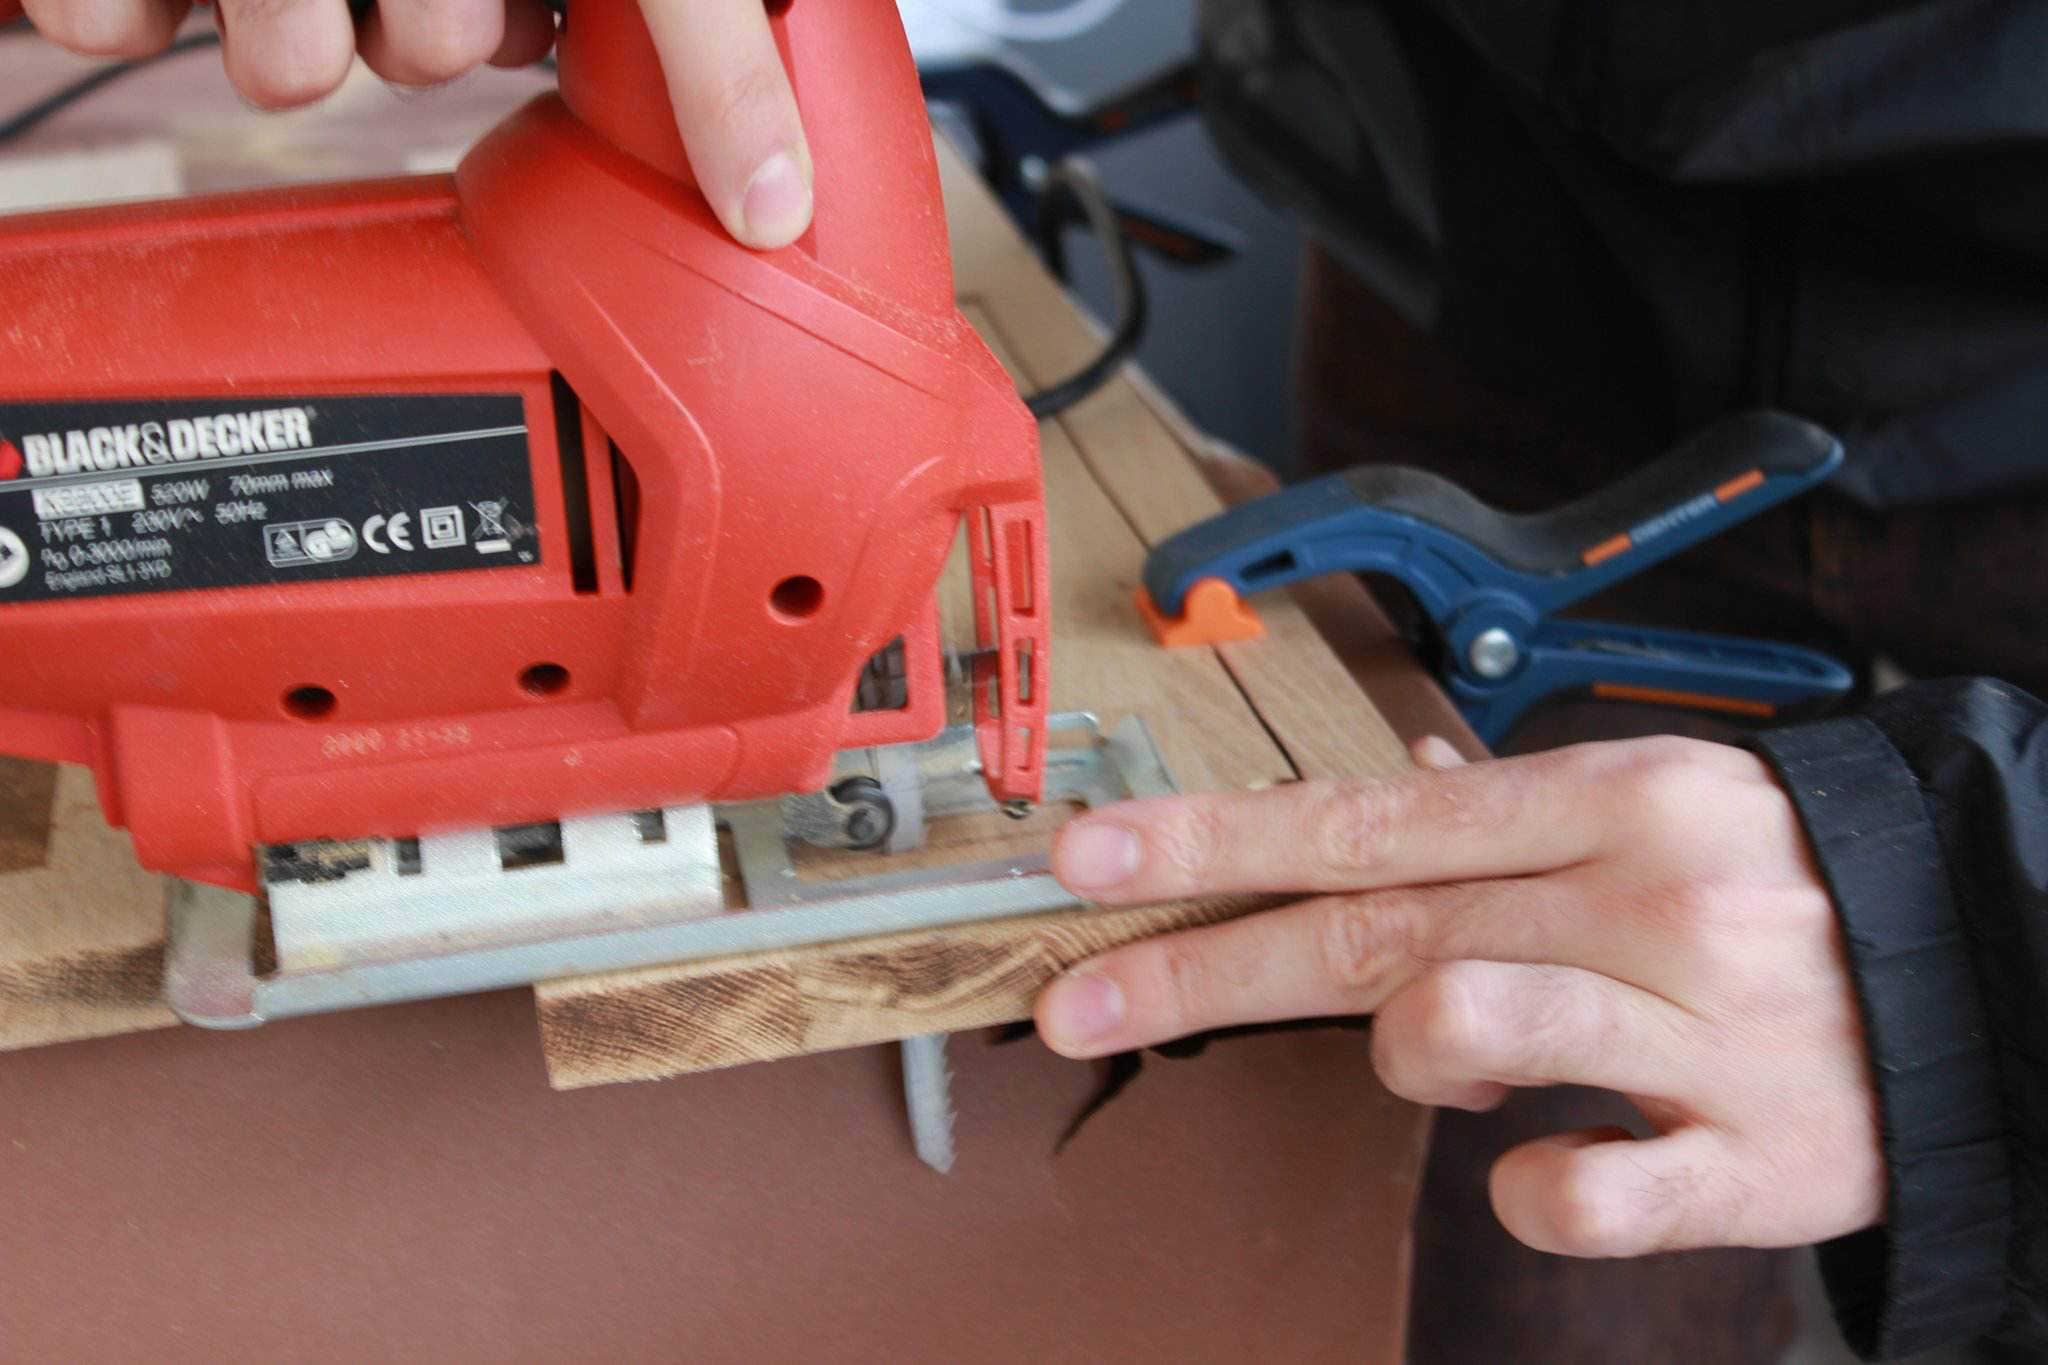
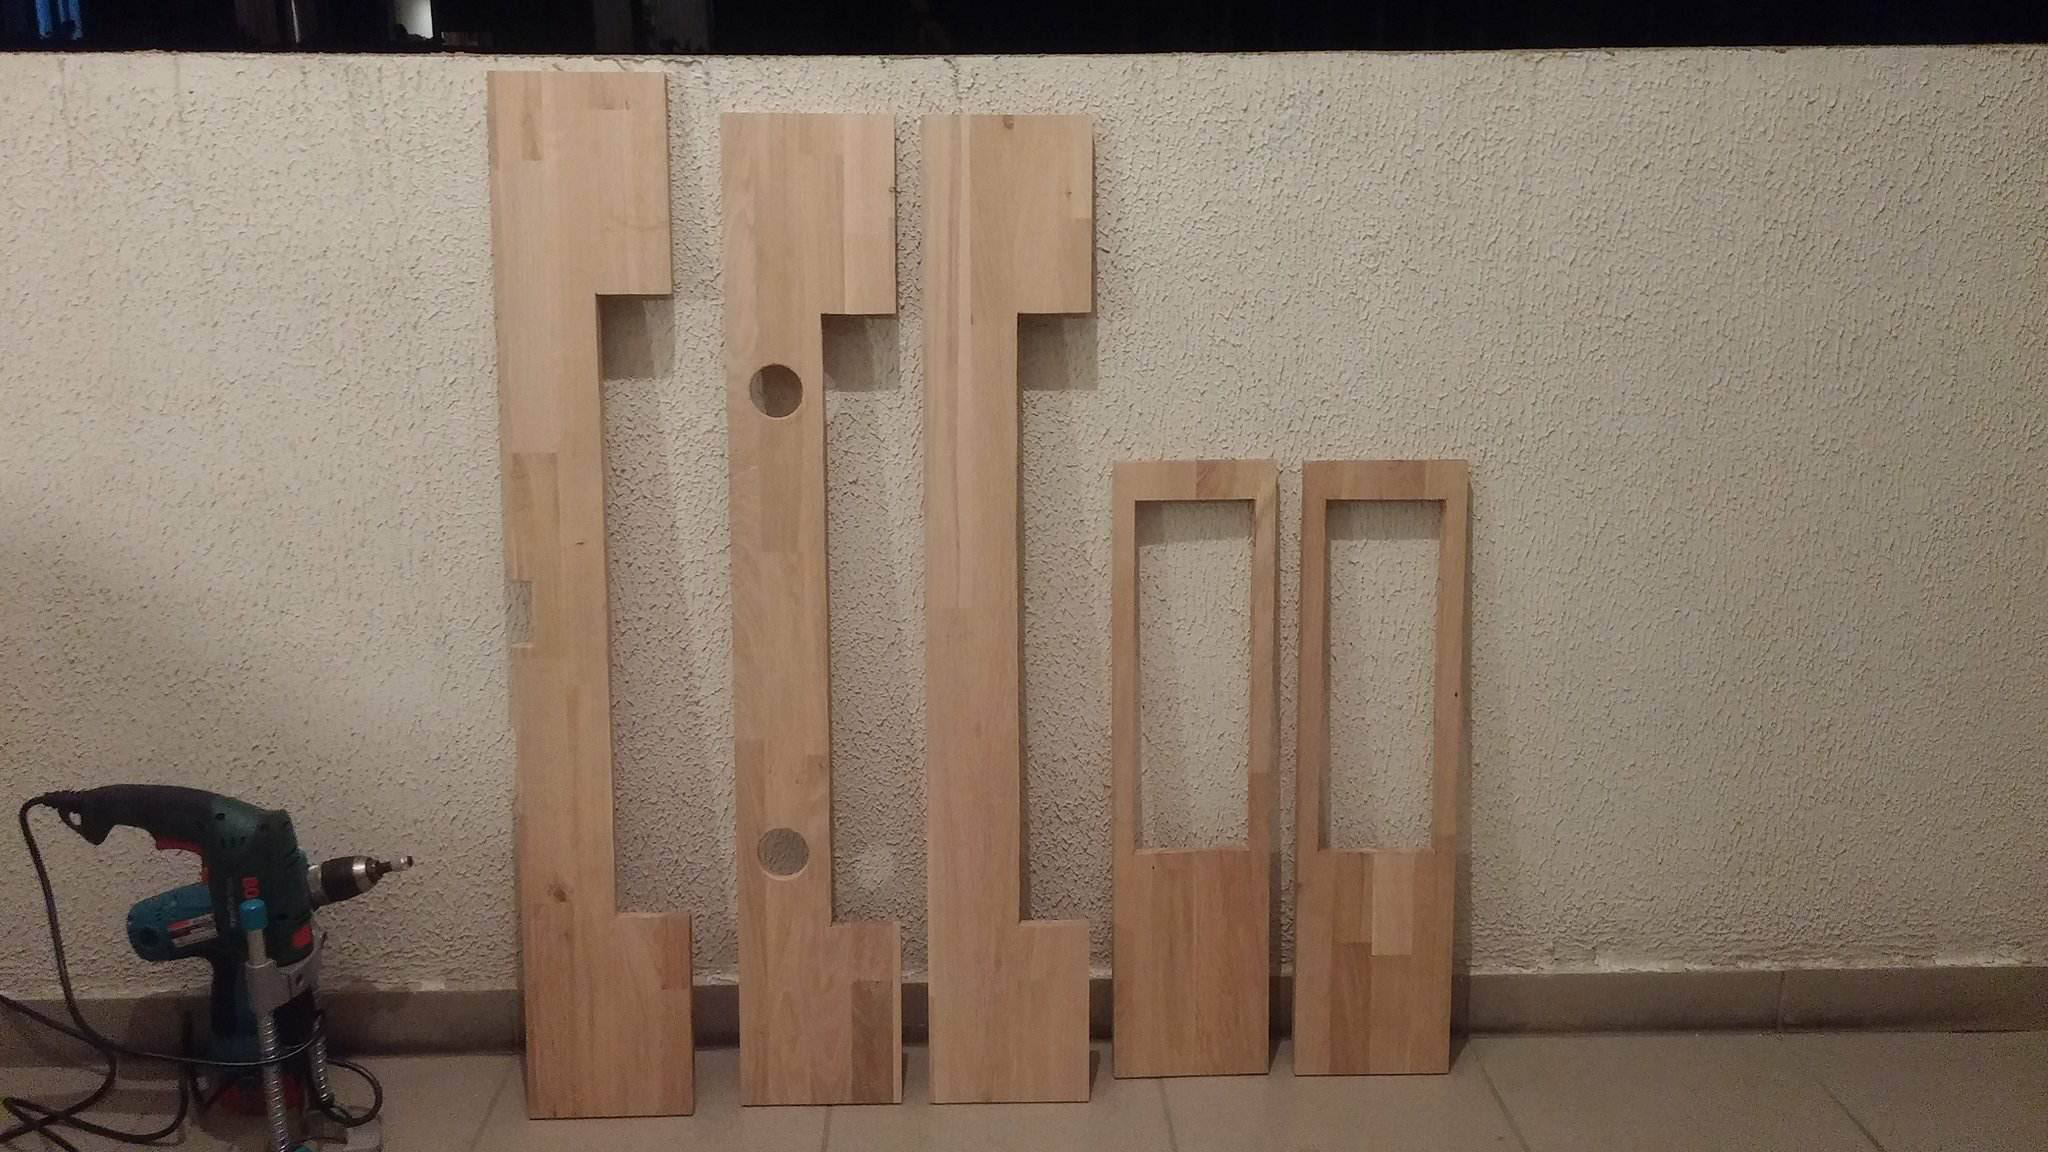
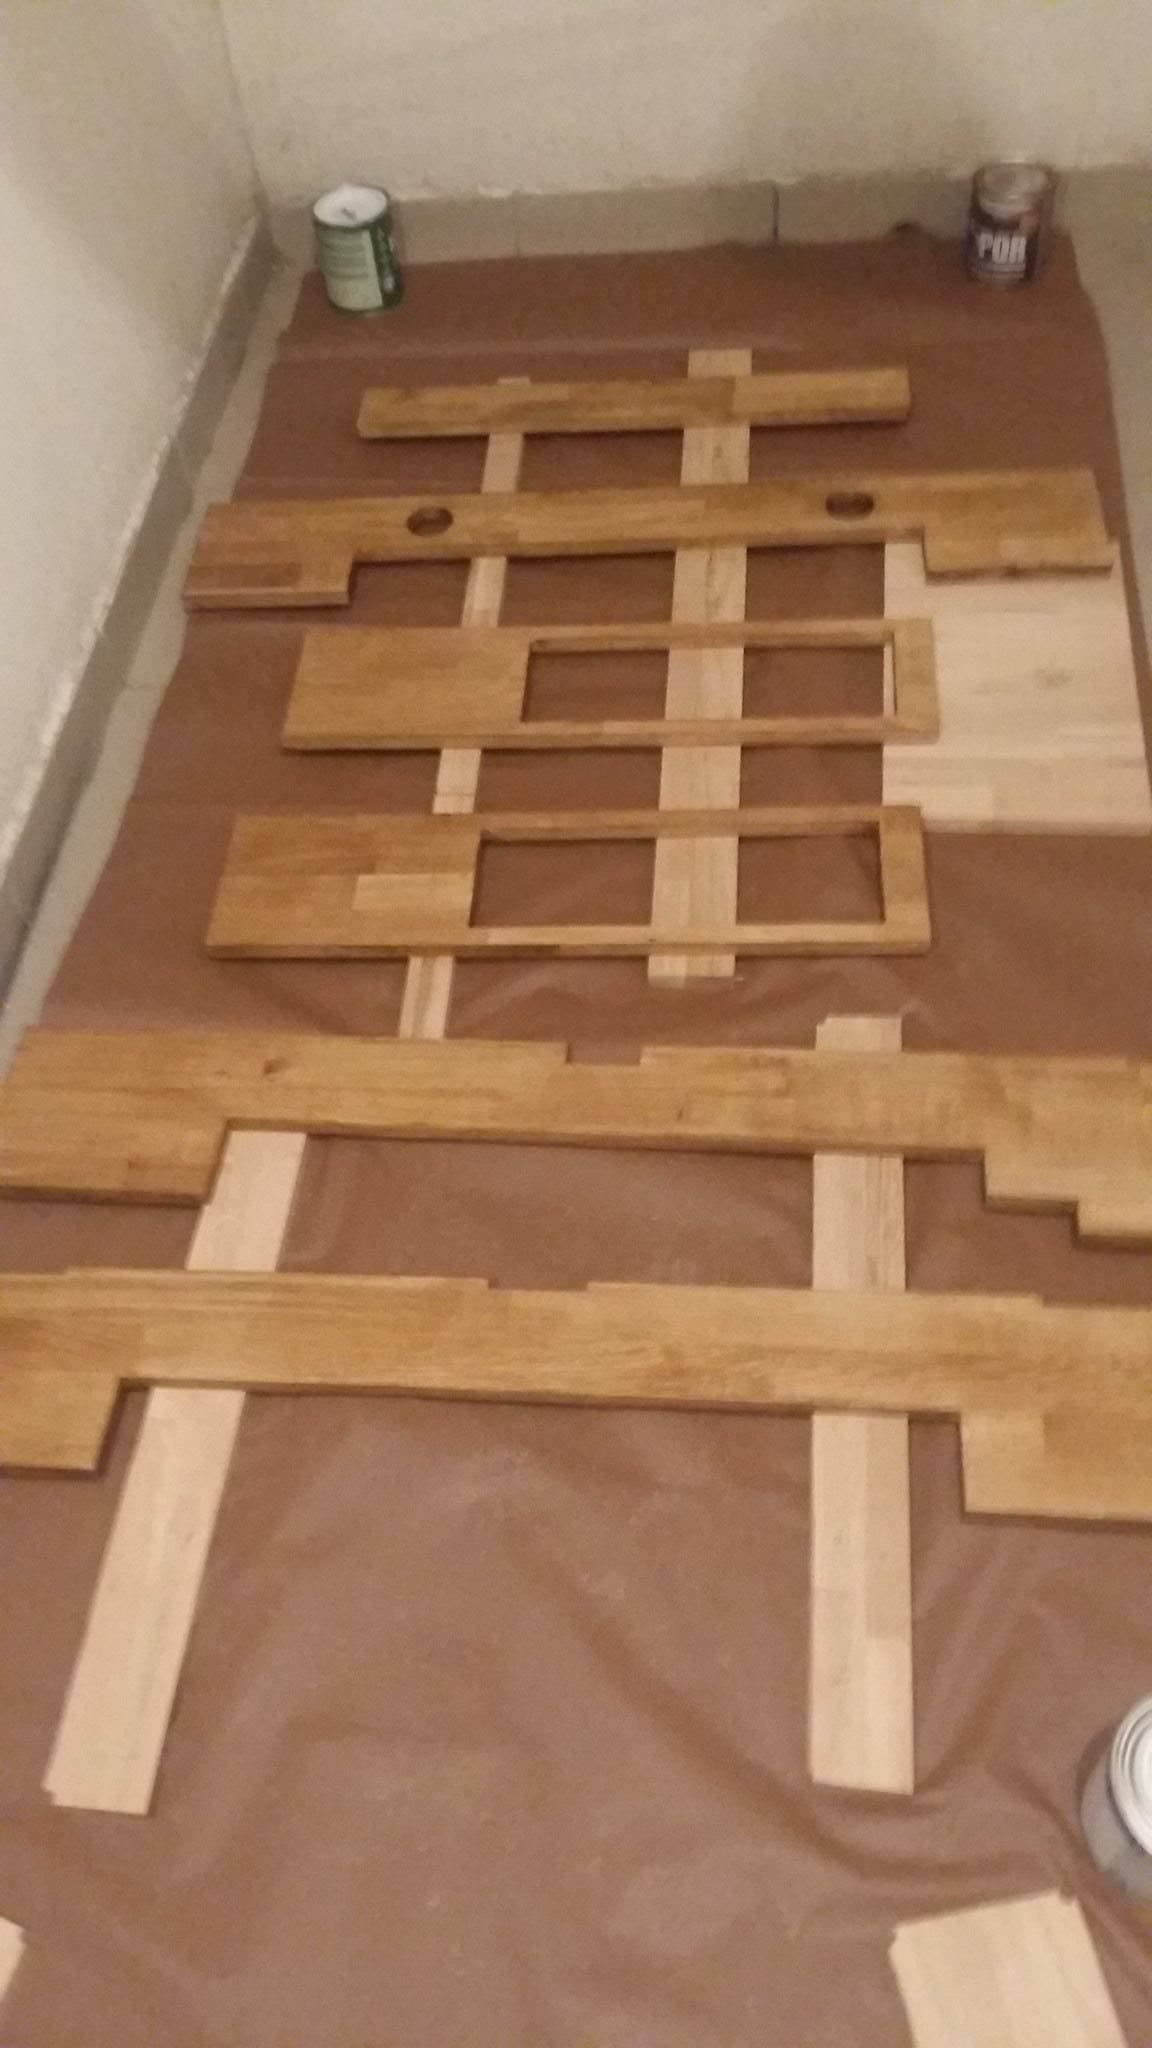
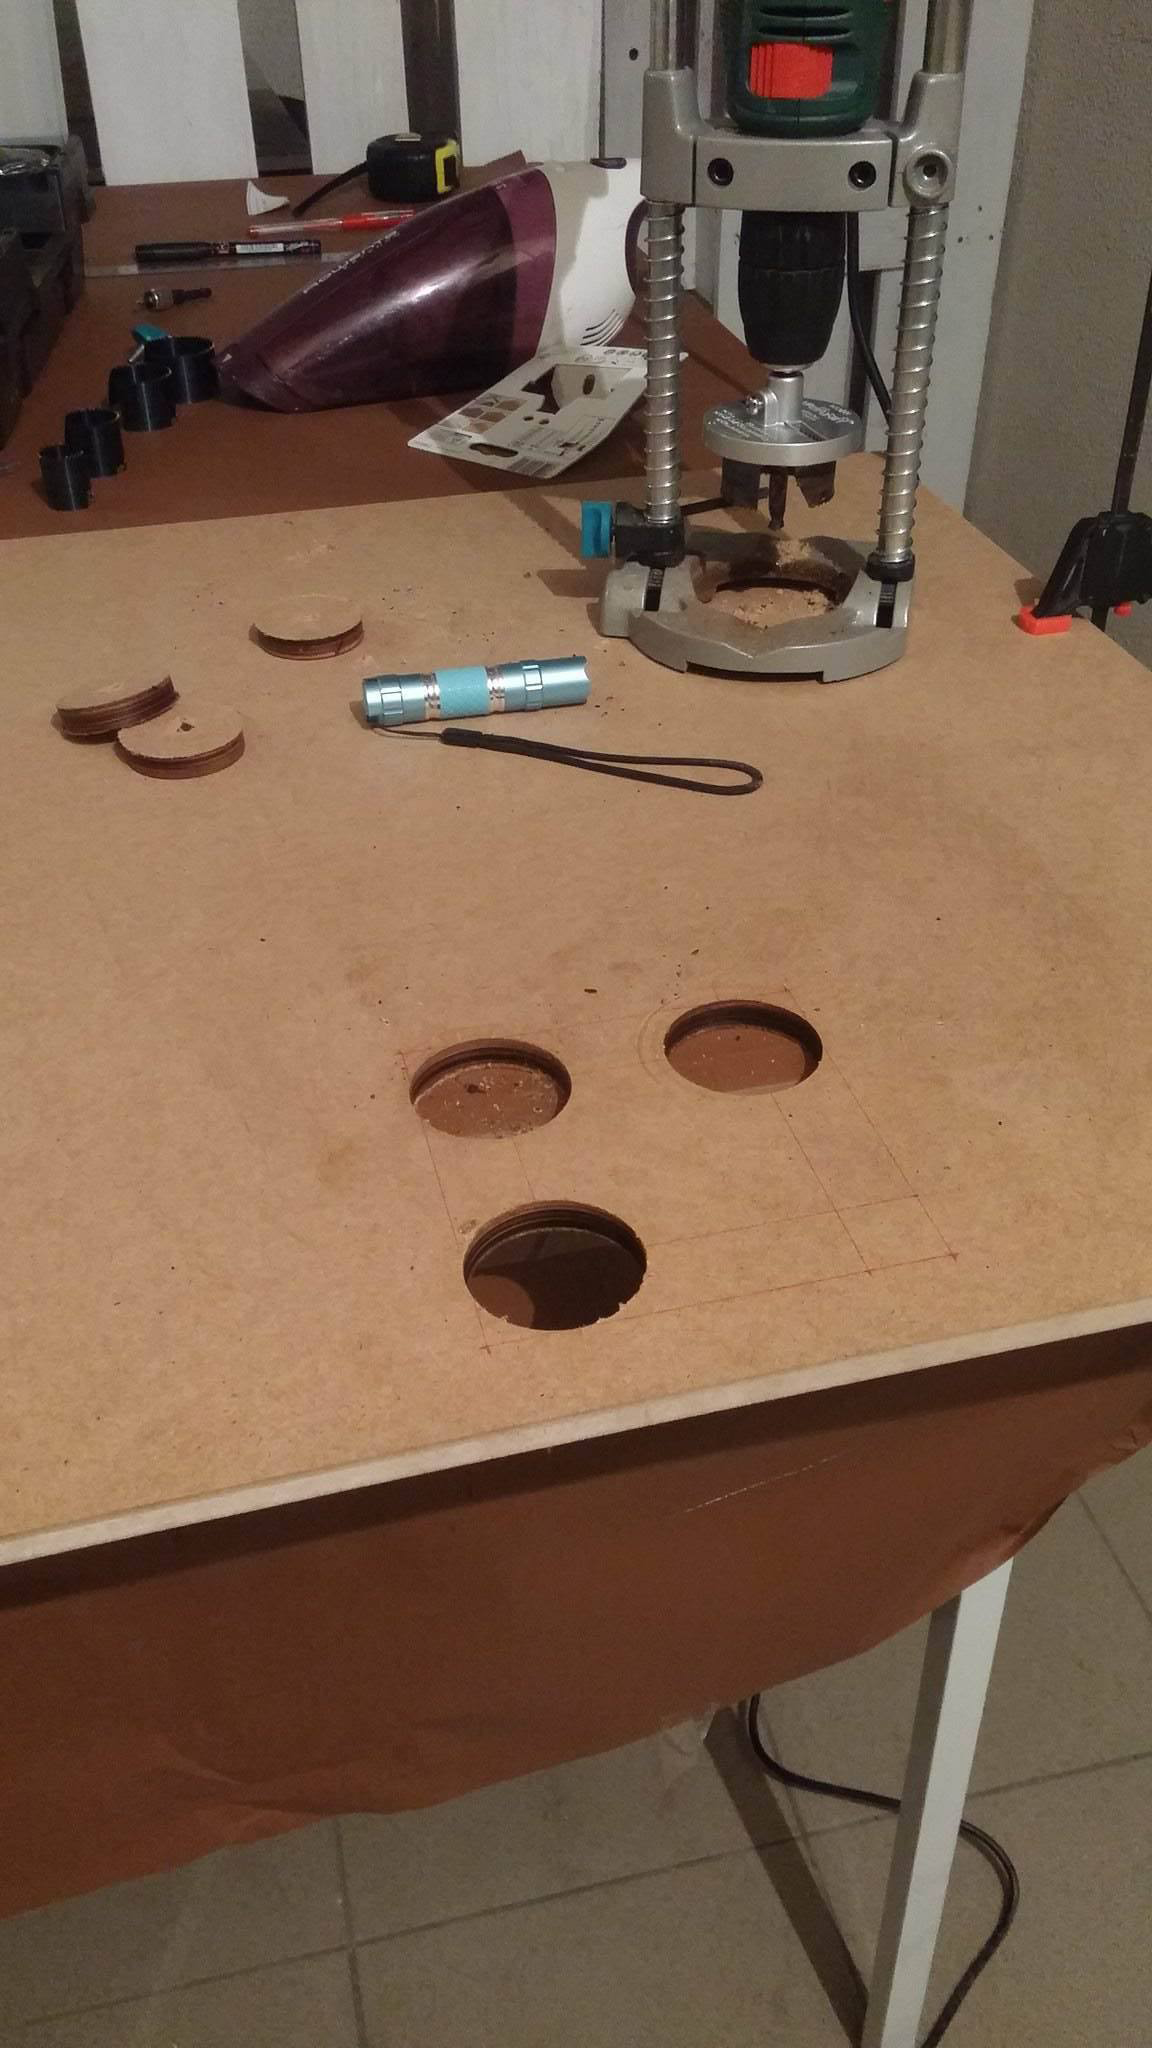
At first, I started cutting out on the balcony the wood that I bought, from a local constructions store. This included holes for cable access between the two chambers of the desk, and holes for screws, bolts and cam lock nuts (yes, the entire desk can be disassembled). What I did stumble upon was the fact that it's hard to work without the propper tools, so I had to buy loads of them. Actually, during the 5-6 weeks in which I was working on the desk (mostly on weekends) I doubt that there was a weekend in which I wouldn't drive to the hardware store to get something that I needed. By the time the wood pieces got to the final shape, I stained them so that the texture would stand out.
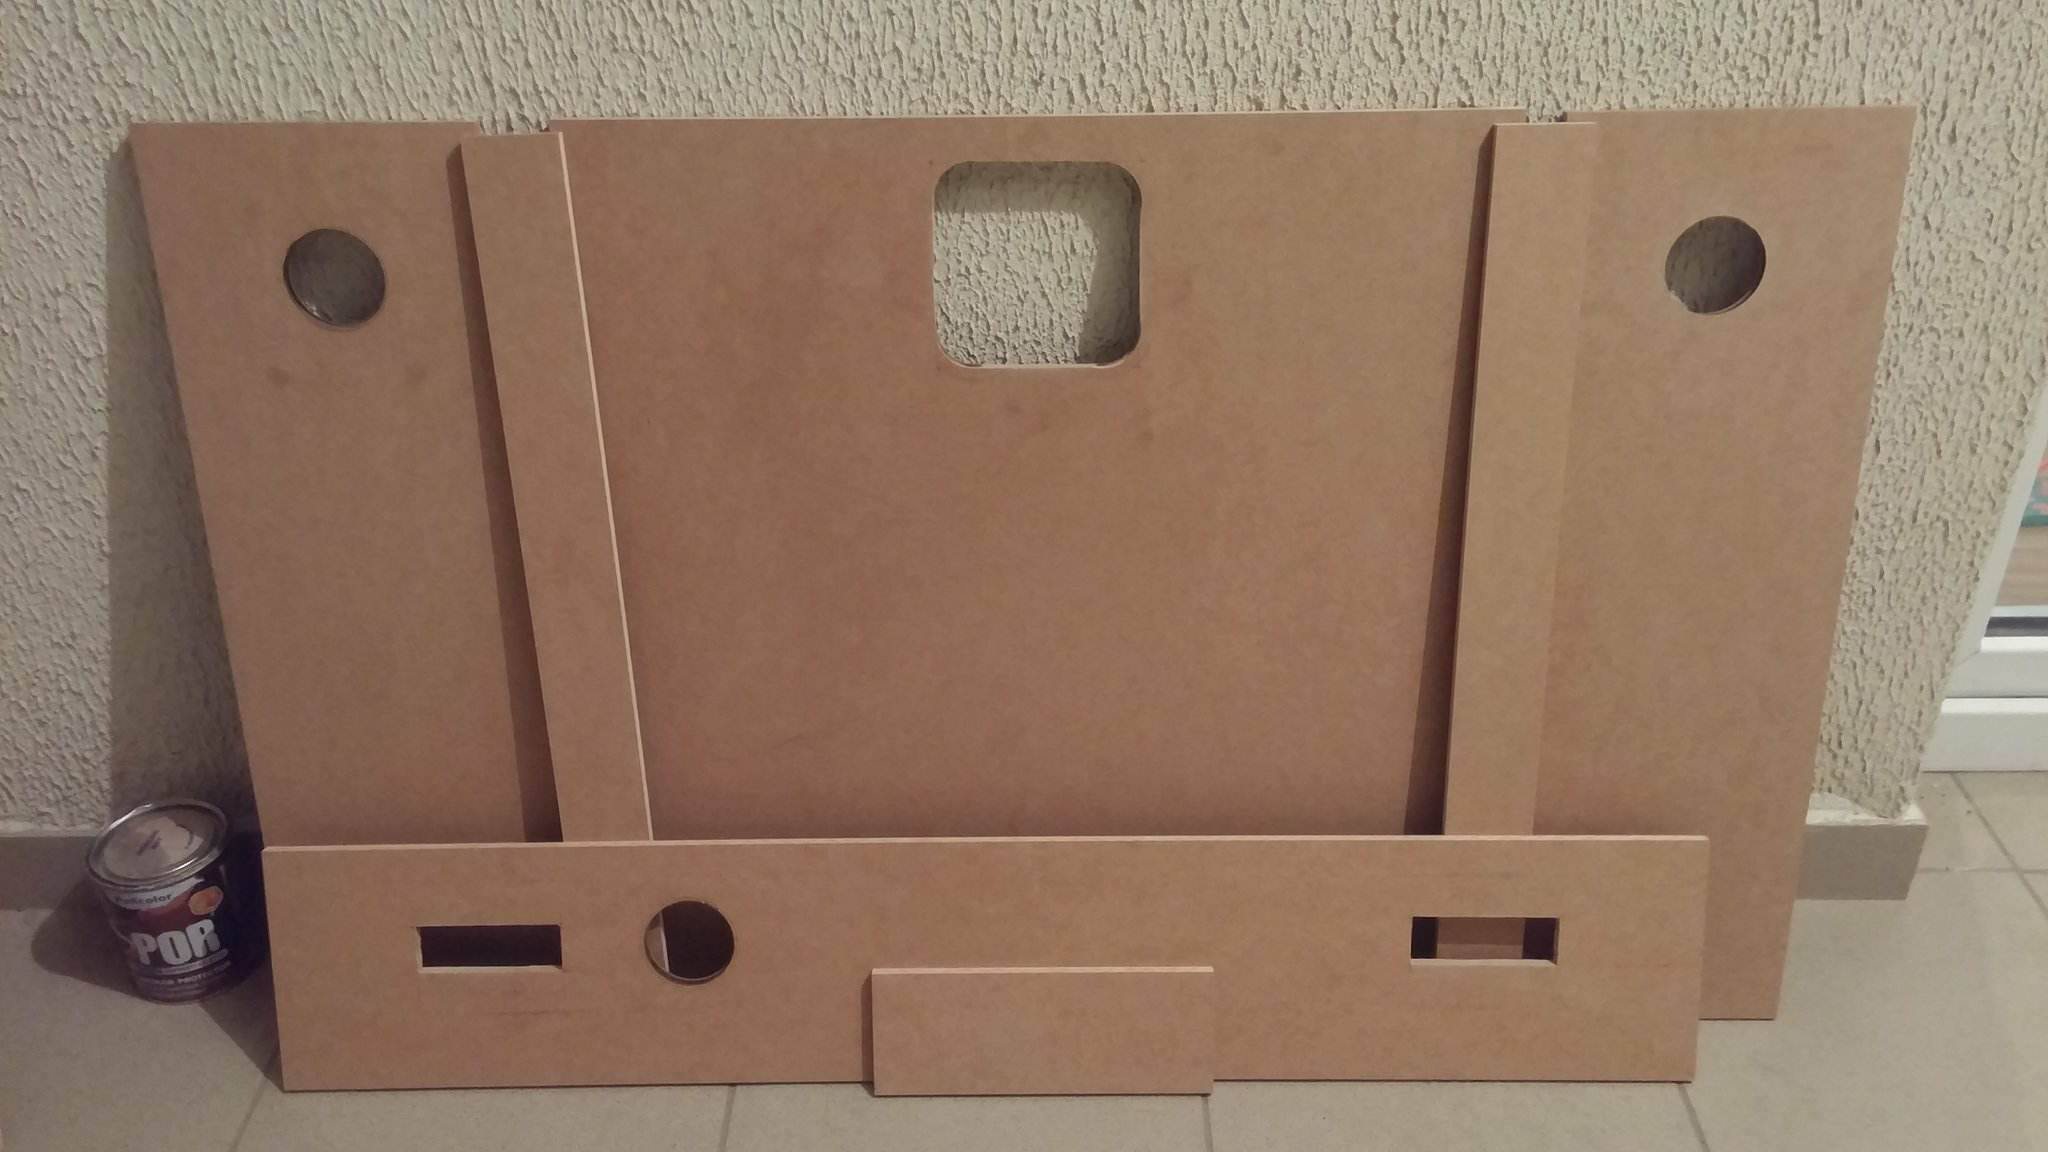
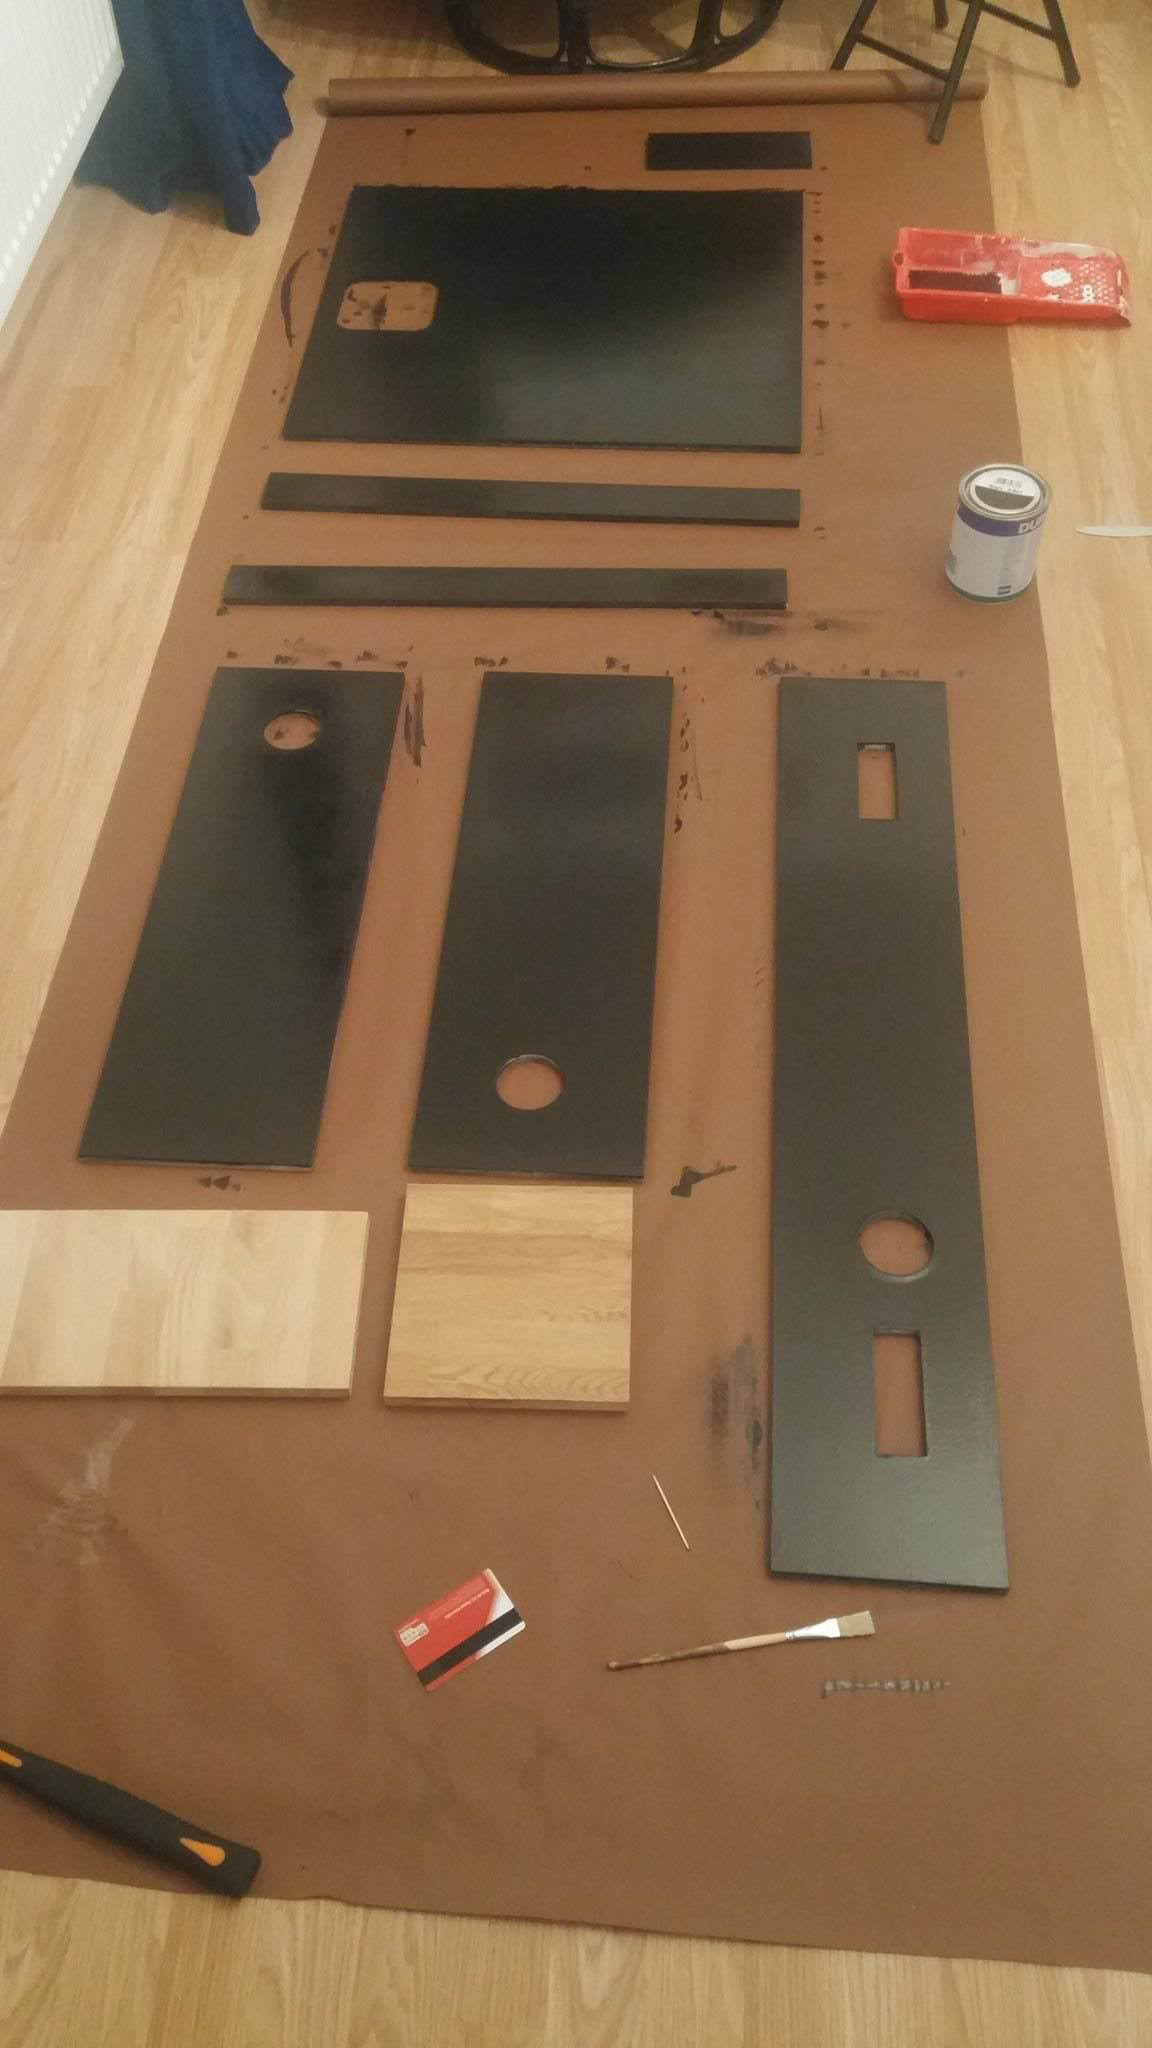
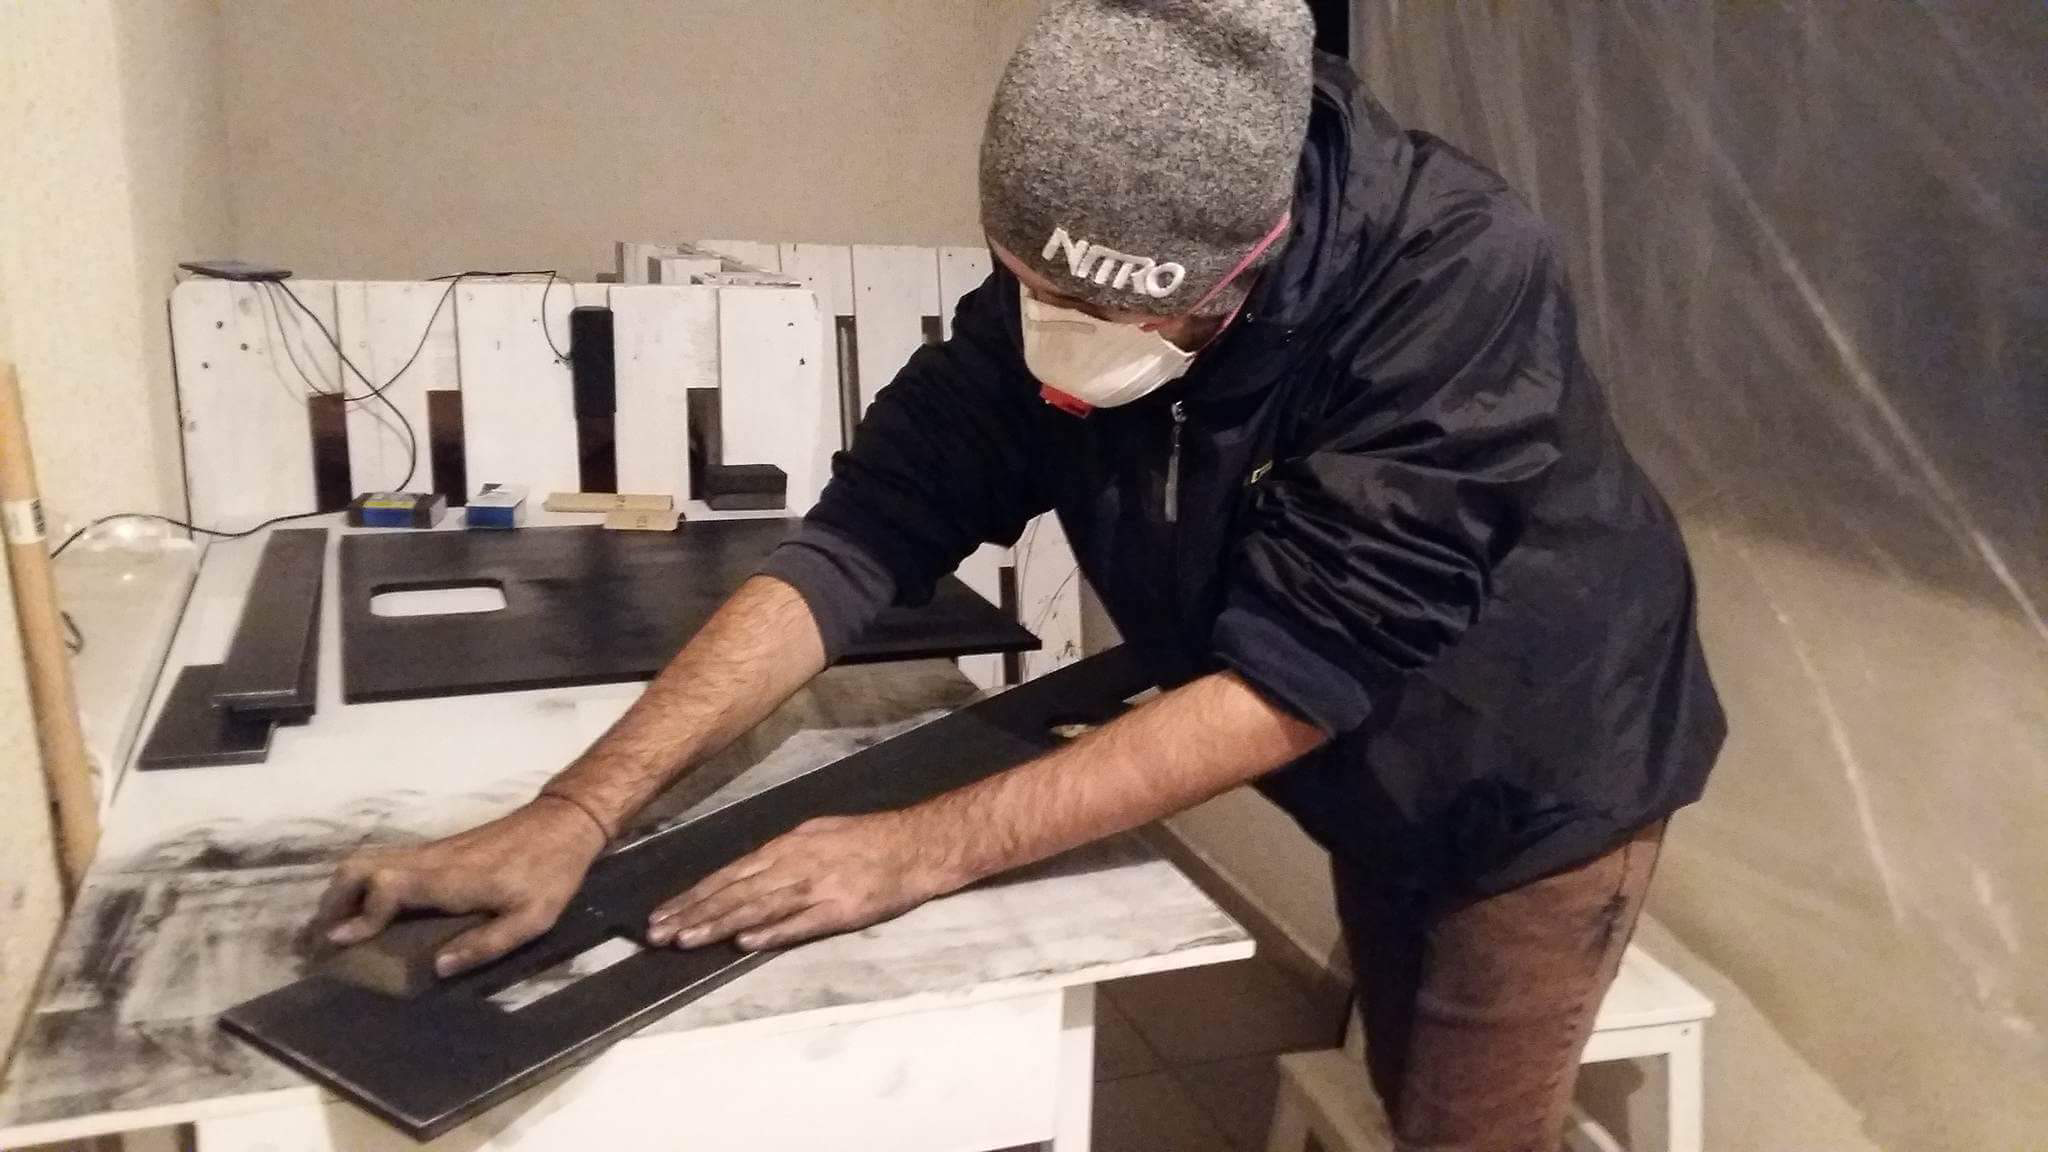
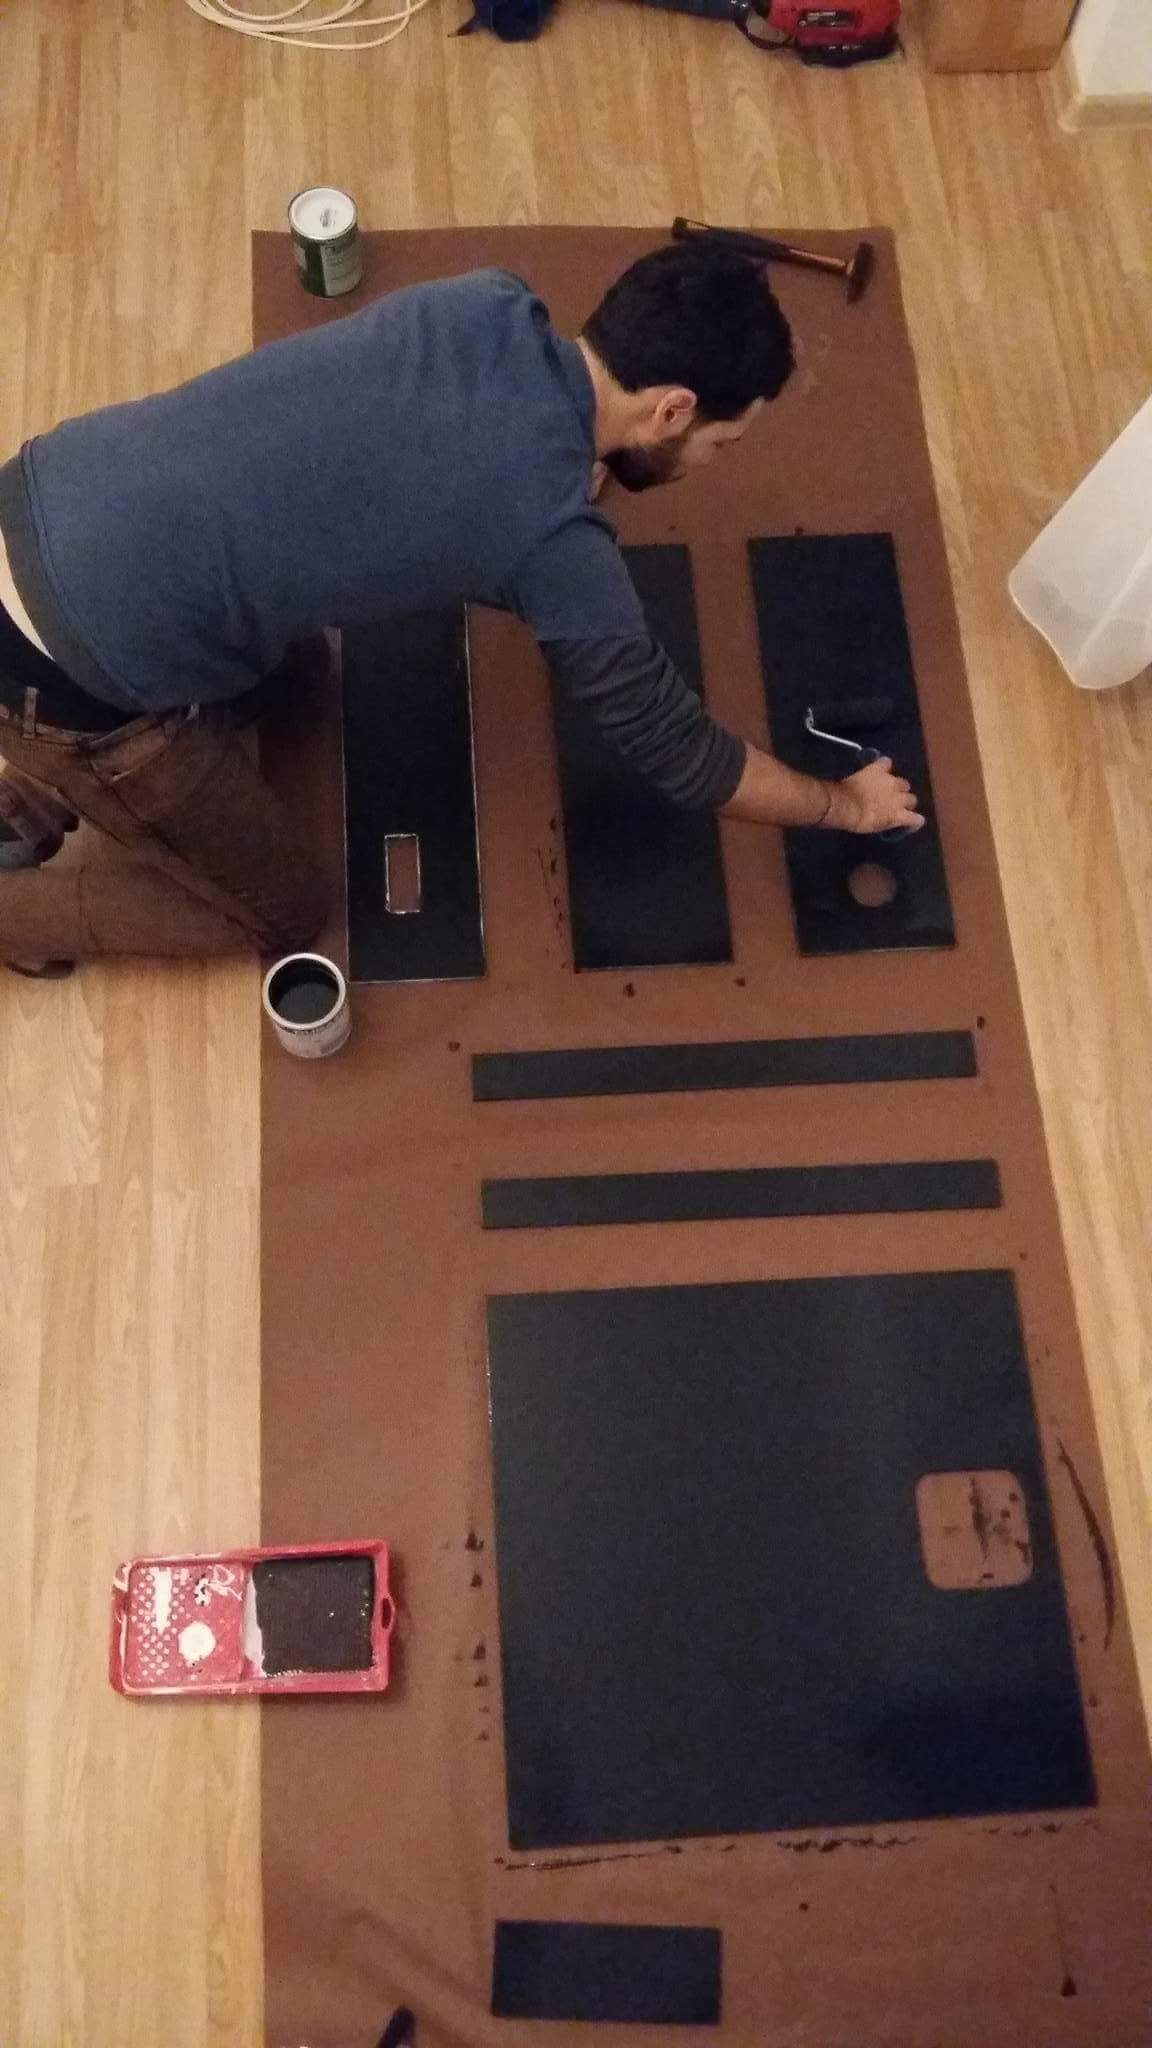
For the thiner pieces, I decided to go with MDF (Medium-Density Fibreboards) sheets which I ordered from a local building materials provider. Again, just like for the wood, I had to cut out the pieces to the desired shape. I then applied a primer that the paint would stick to, and then the paint. I had to use sand paper on some sides and repaint them afterwards, as dust particles messed them up in a few spots.
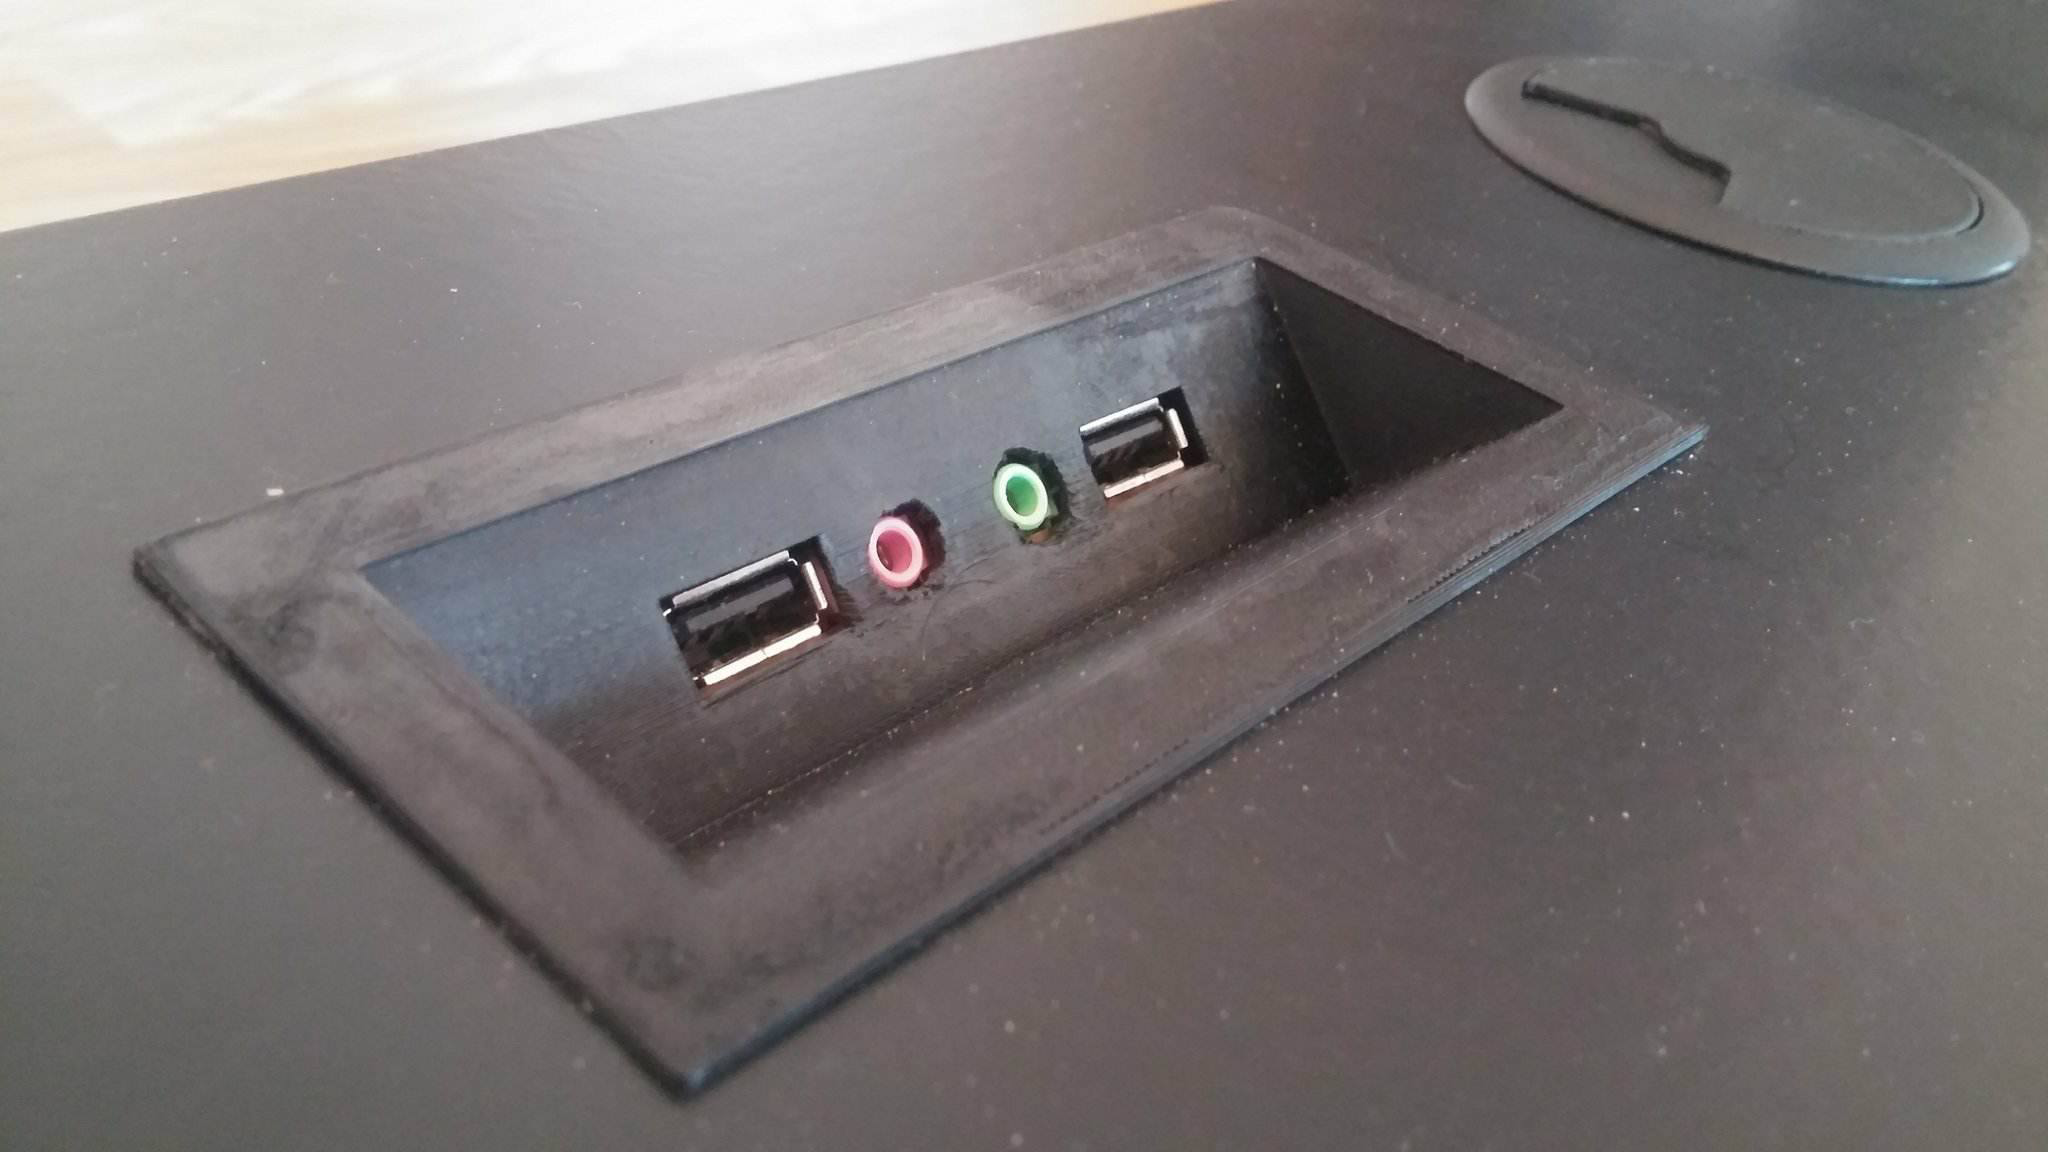
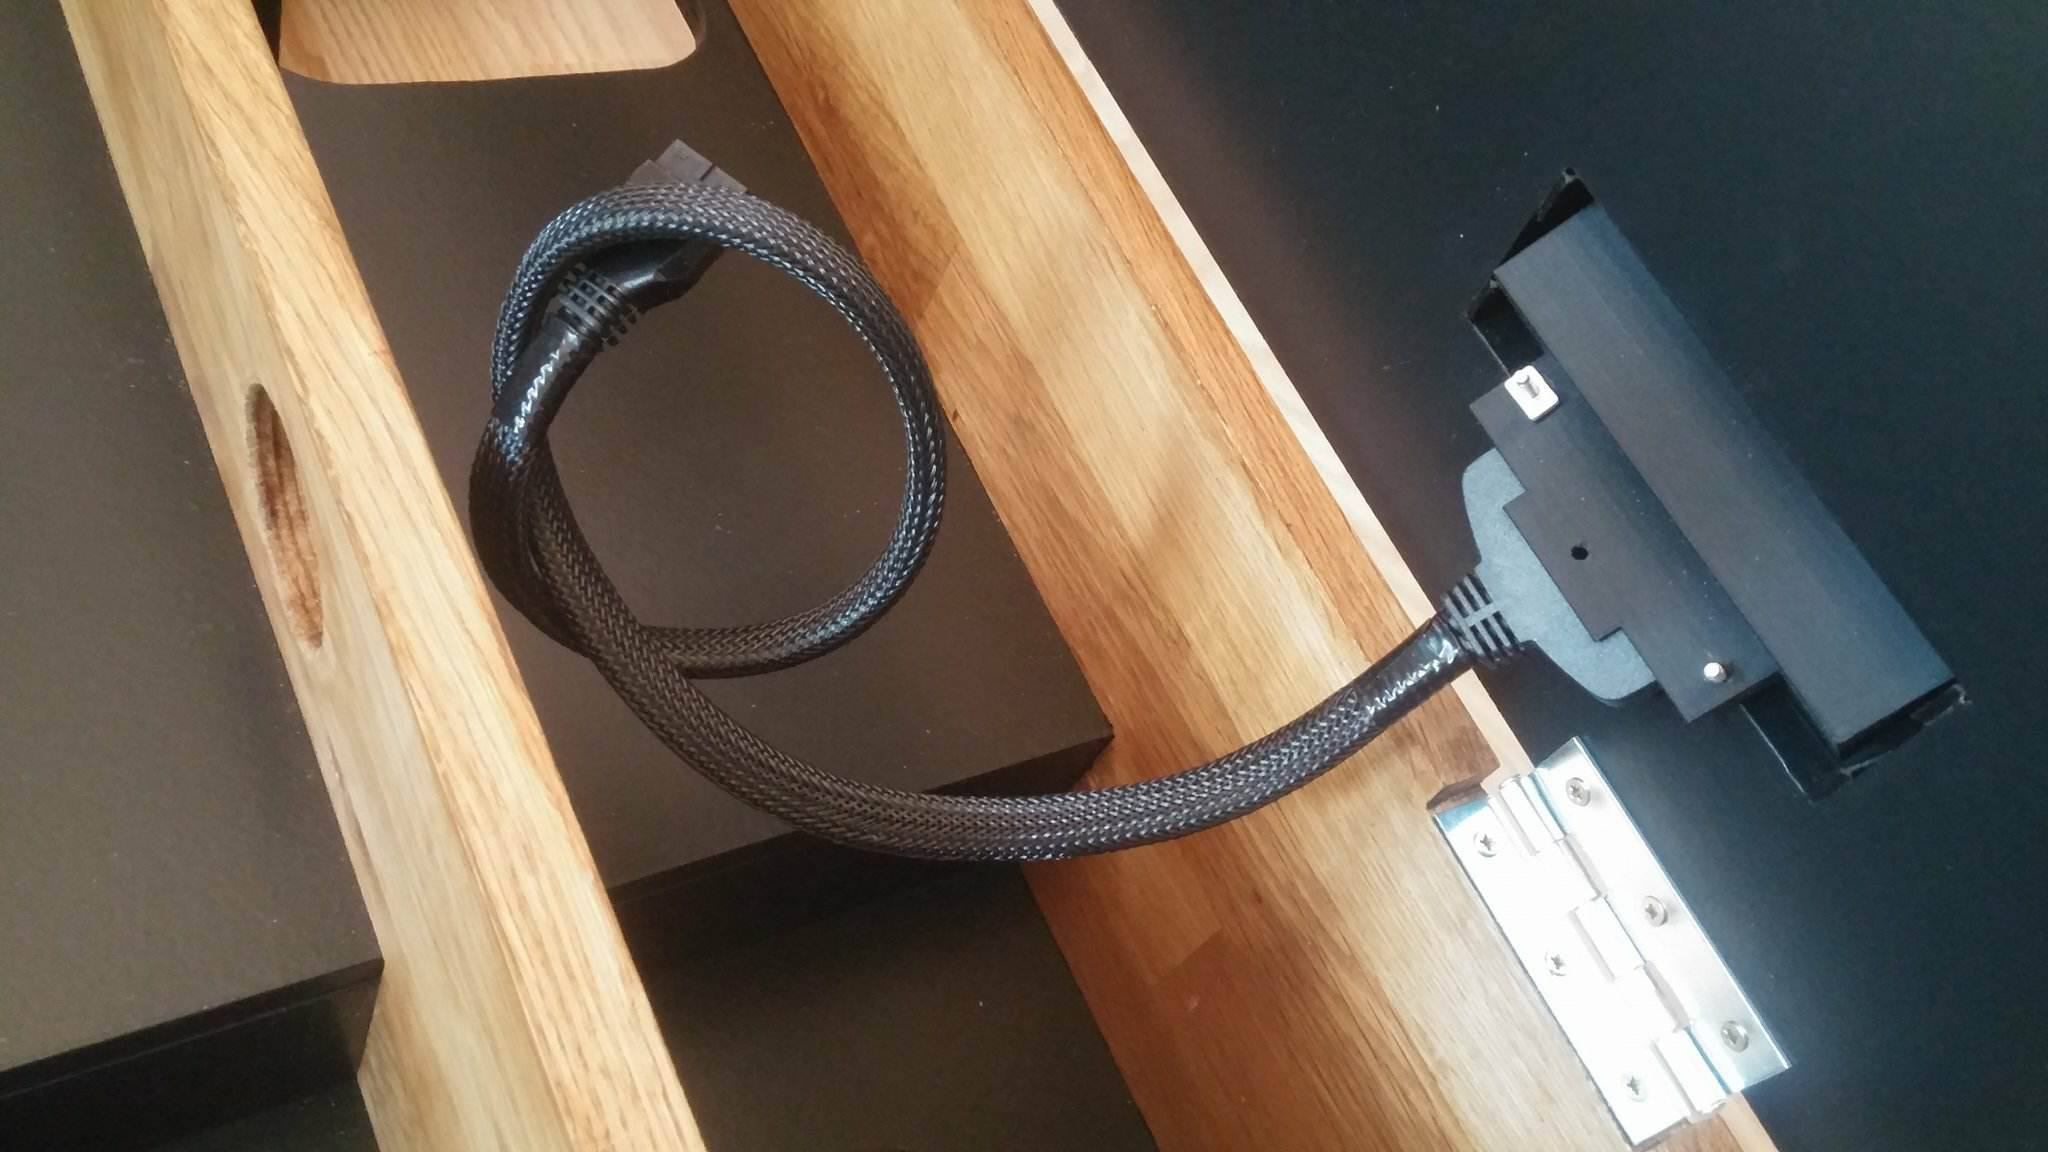
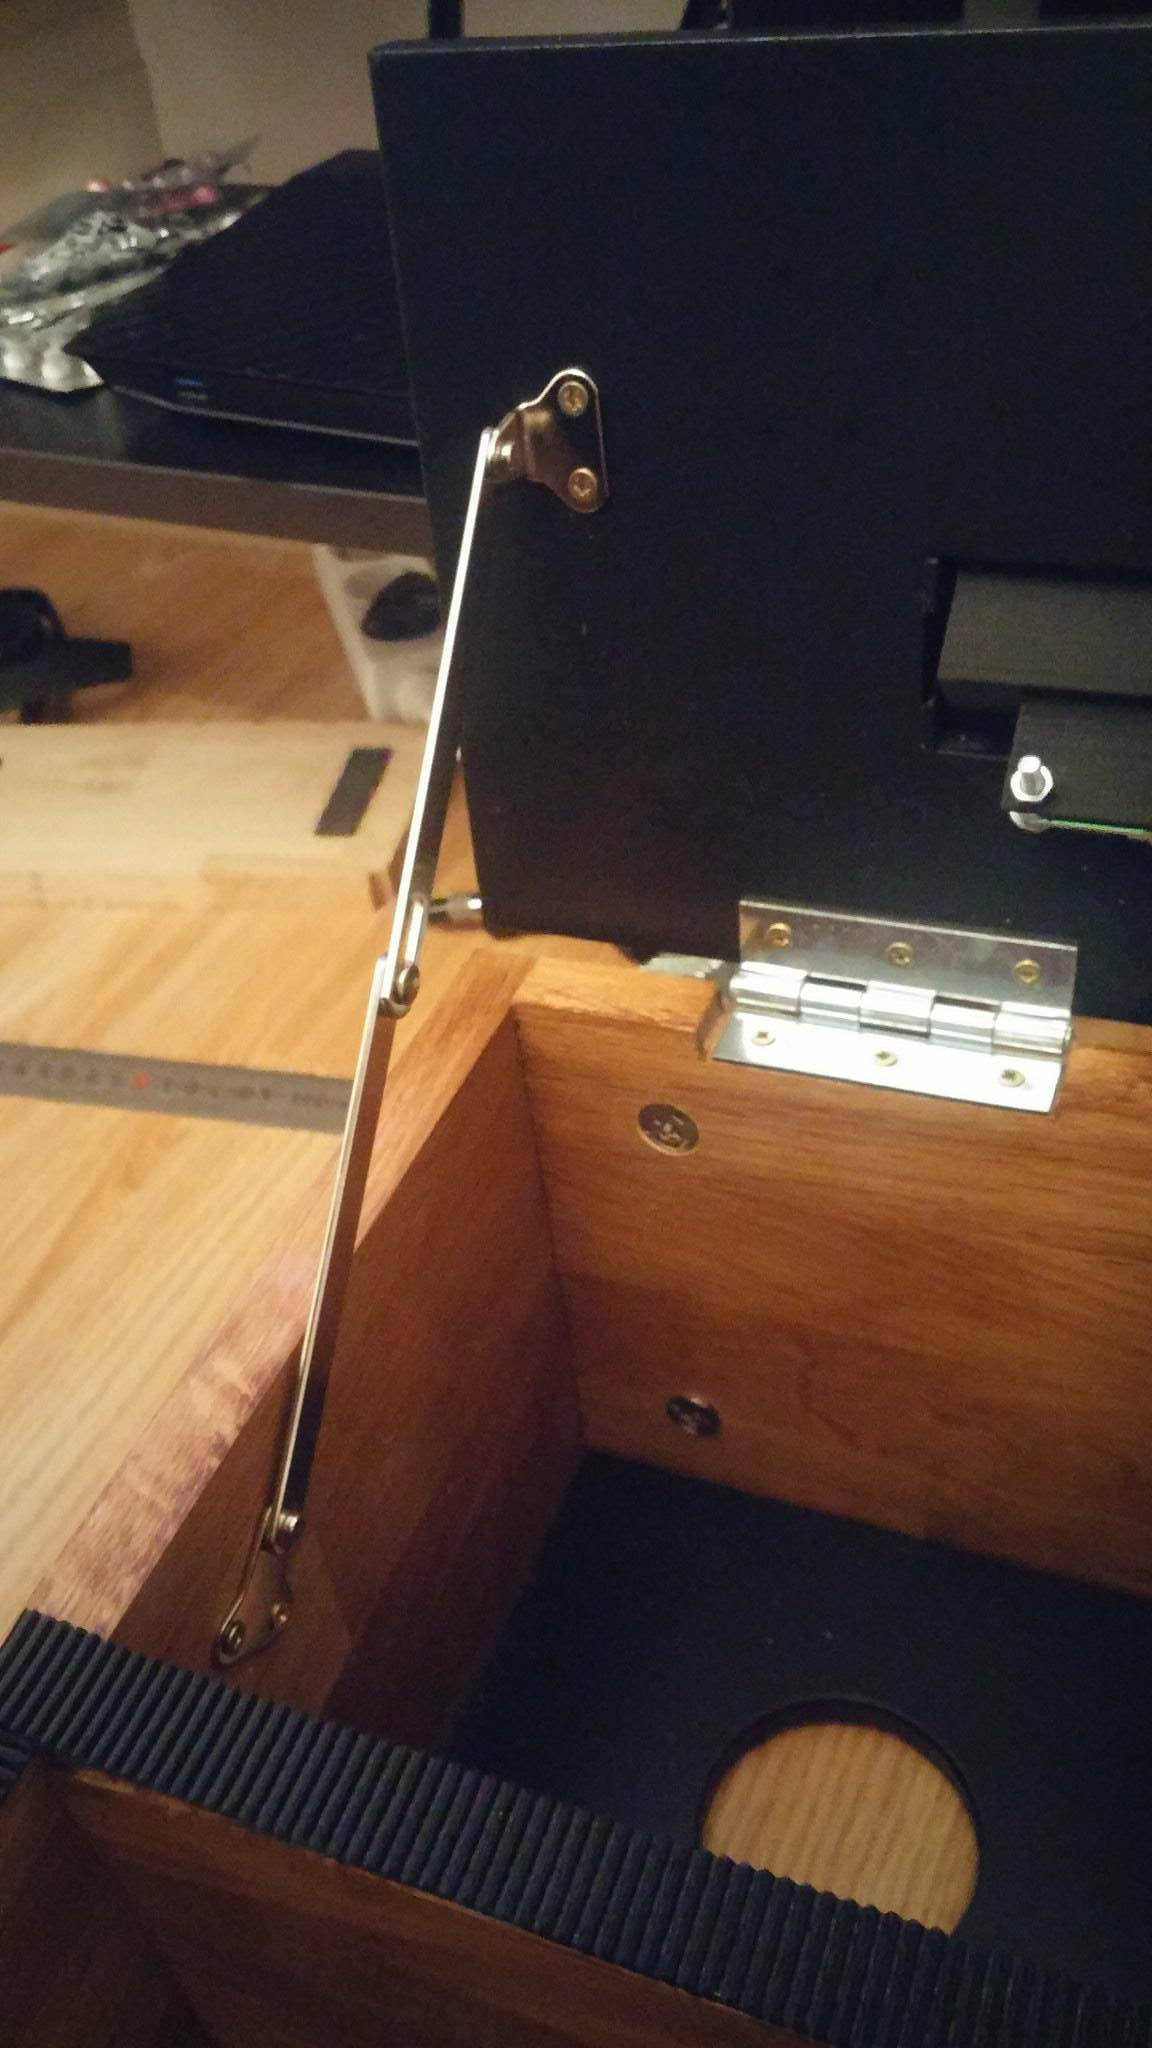
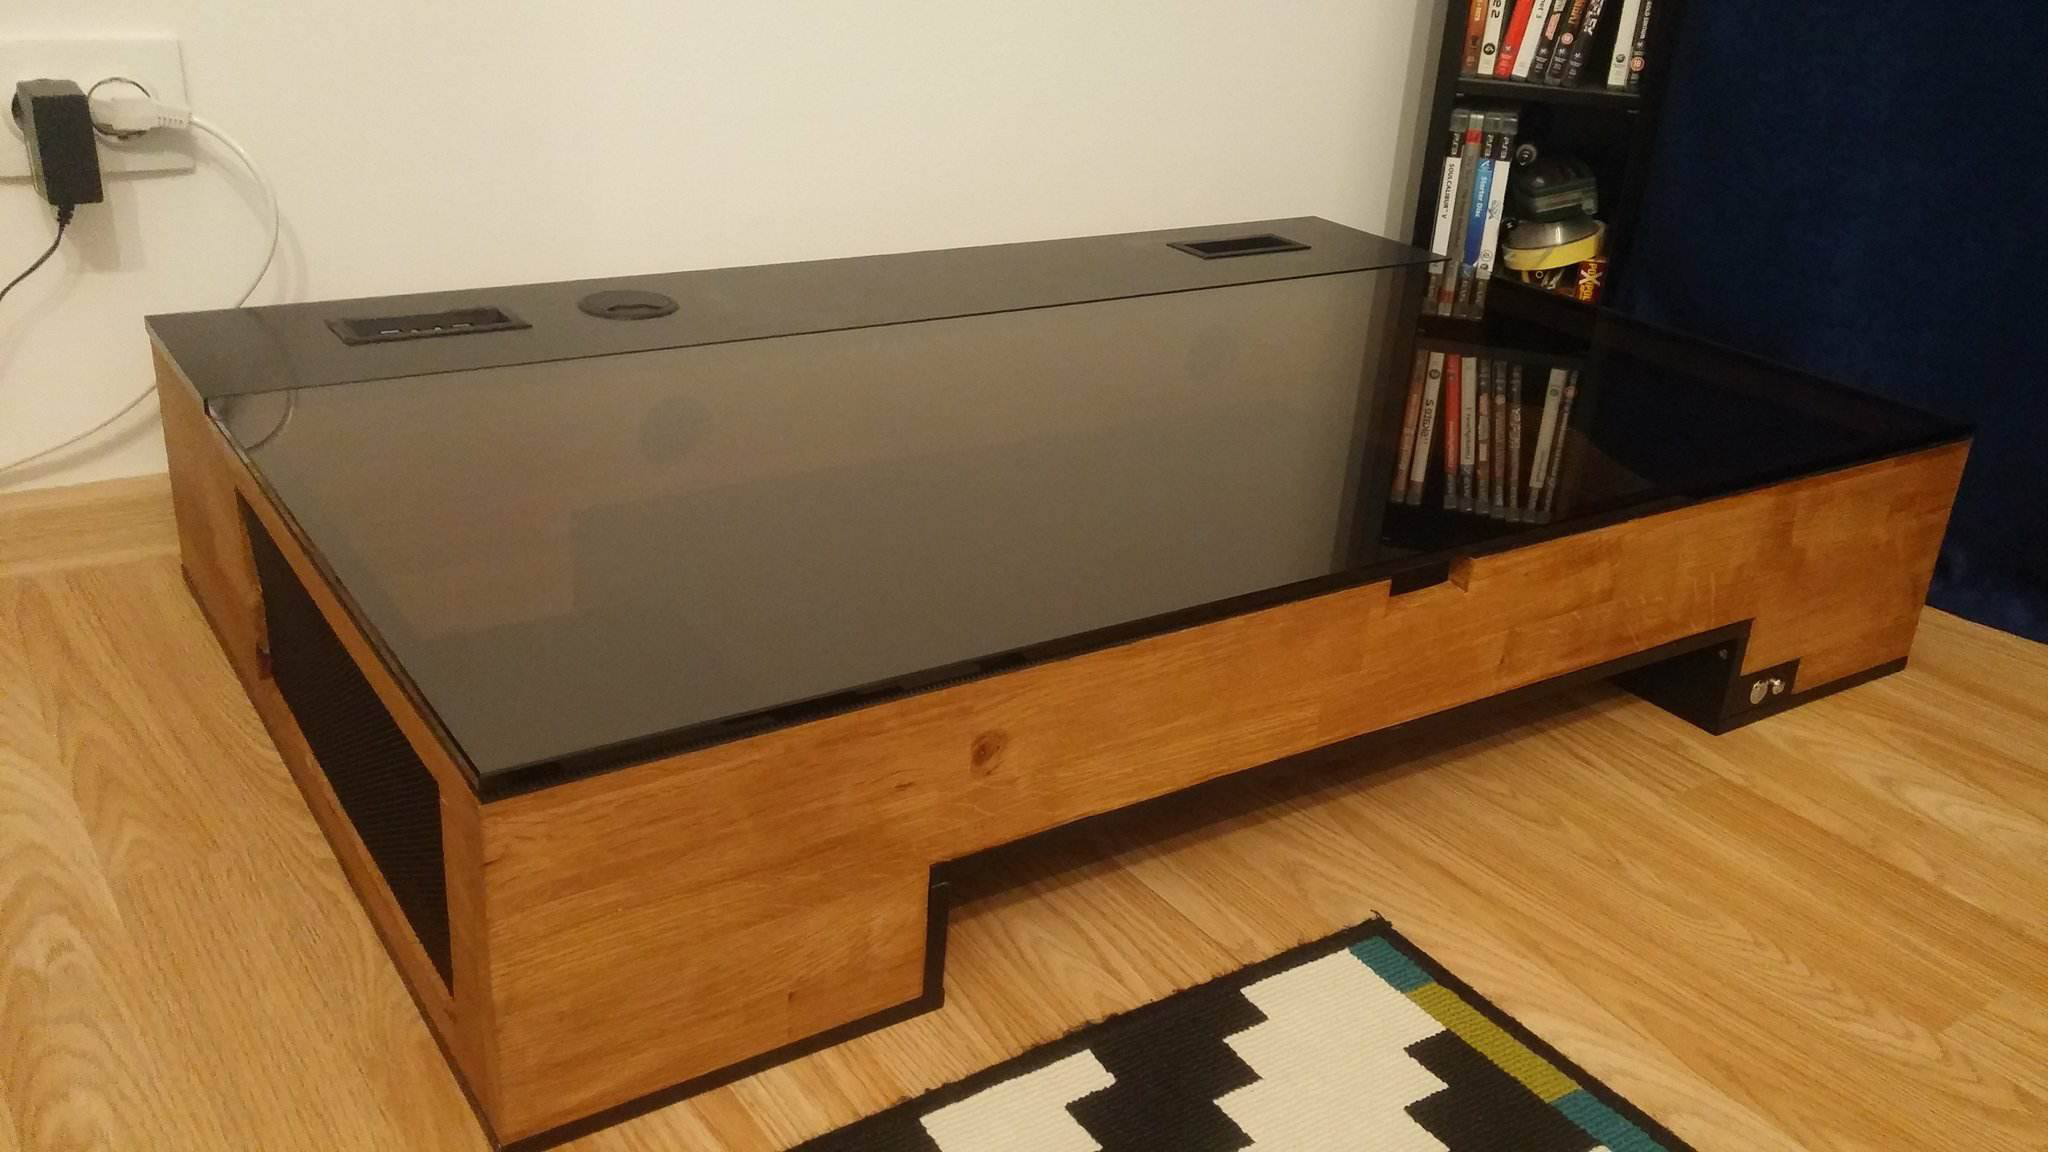
I wanted the input/output panels to be both easily accesible and discrete, so a 45-degree angle was the best option. Back in SketchUp to design them and then had them printed at a local 3D print store. These had to fit the USB and Audio I/O connectors which I purchased online. I sleeved their cables and mounted the MDF lid with hinges and stoppers. The PSU will go under it right, and there's also extra space for a triple power strip so that the monitor's power cable has the same path as the display cable.
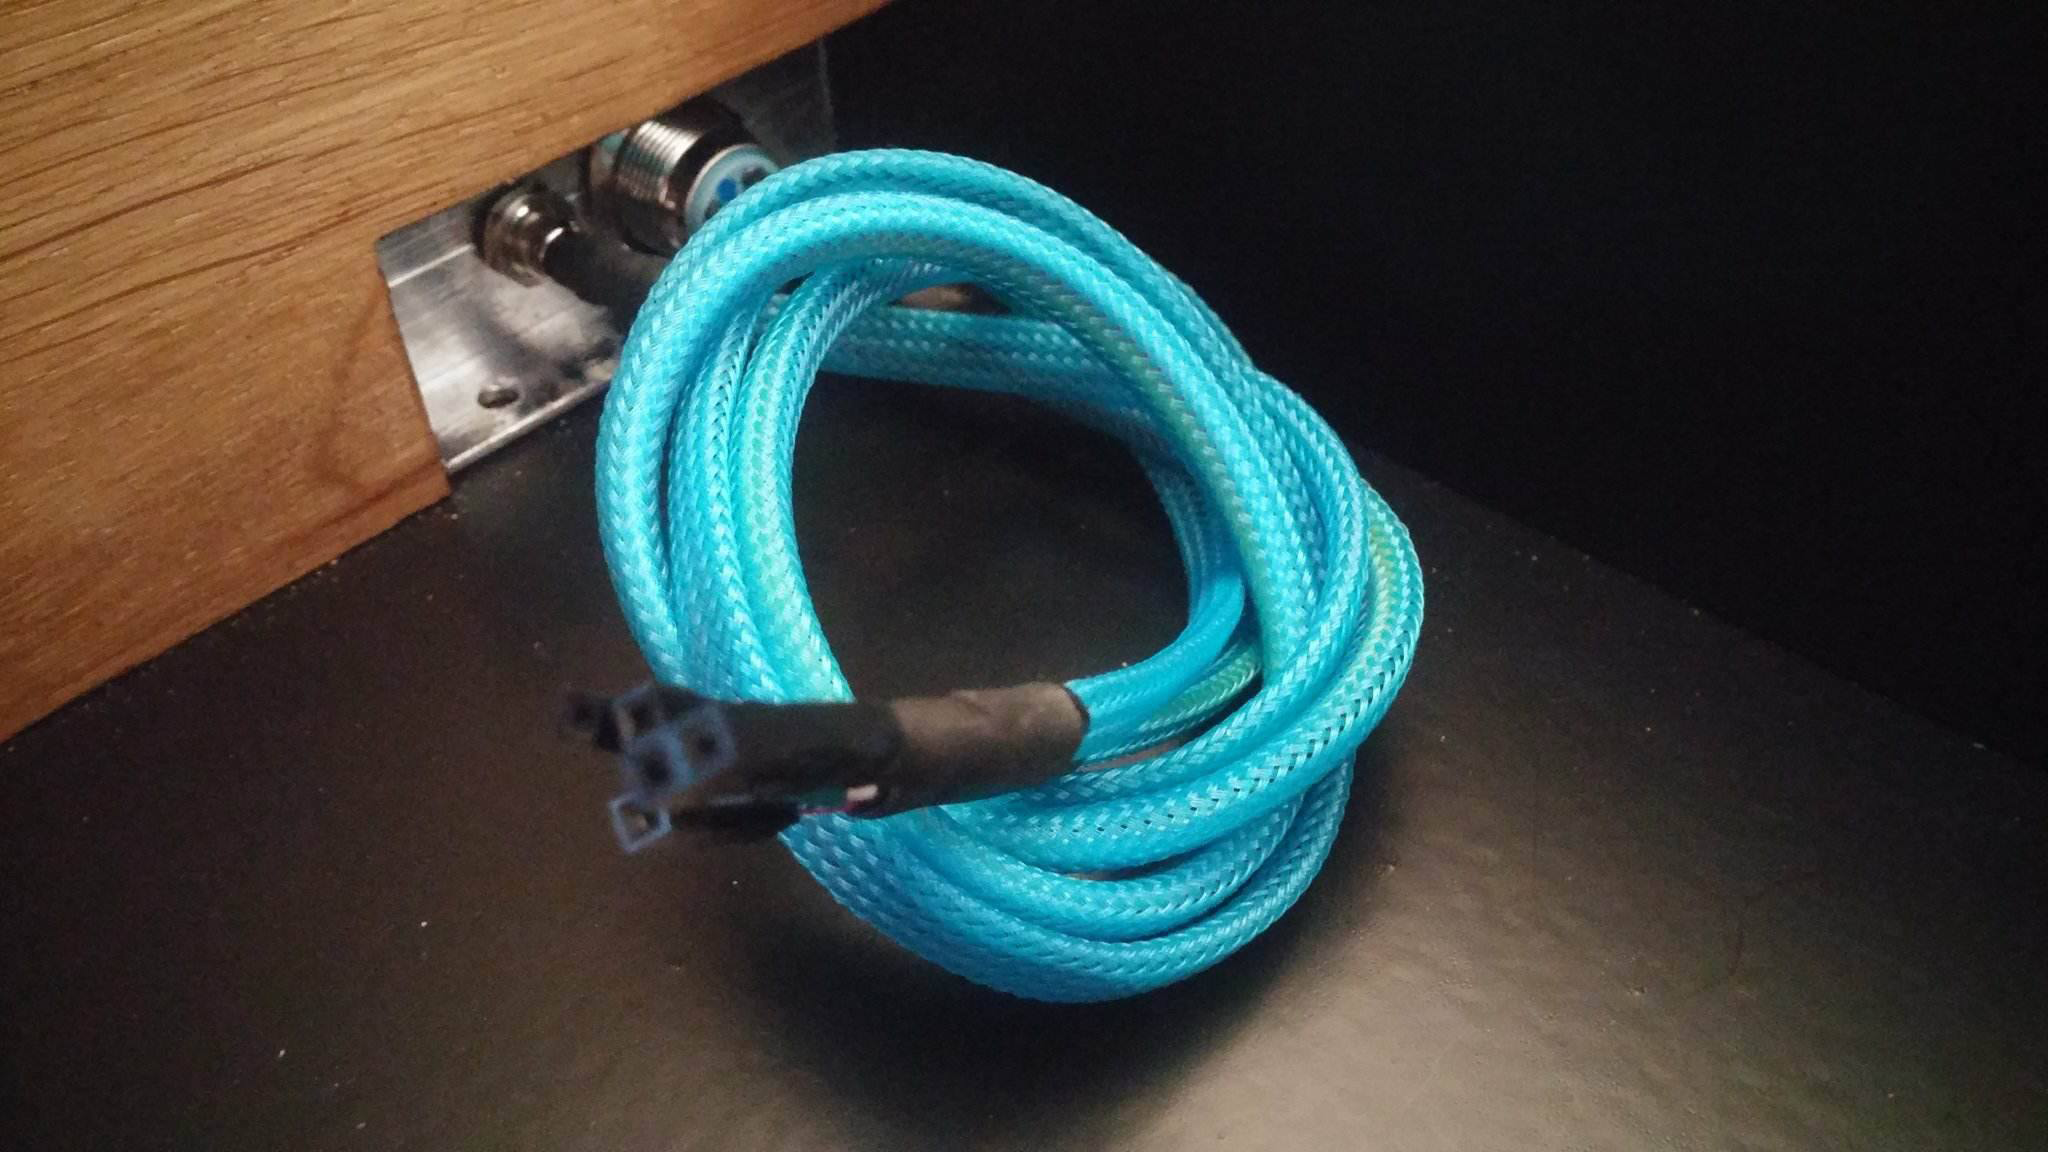
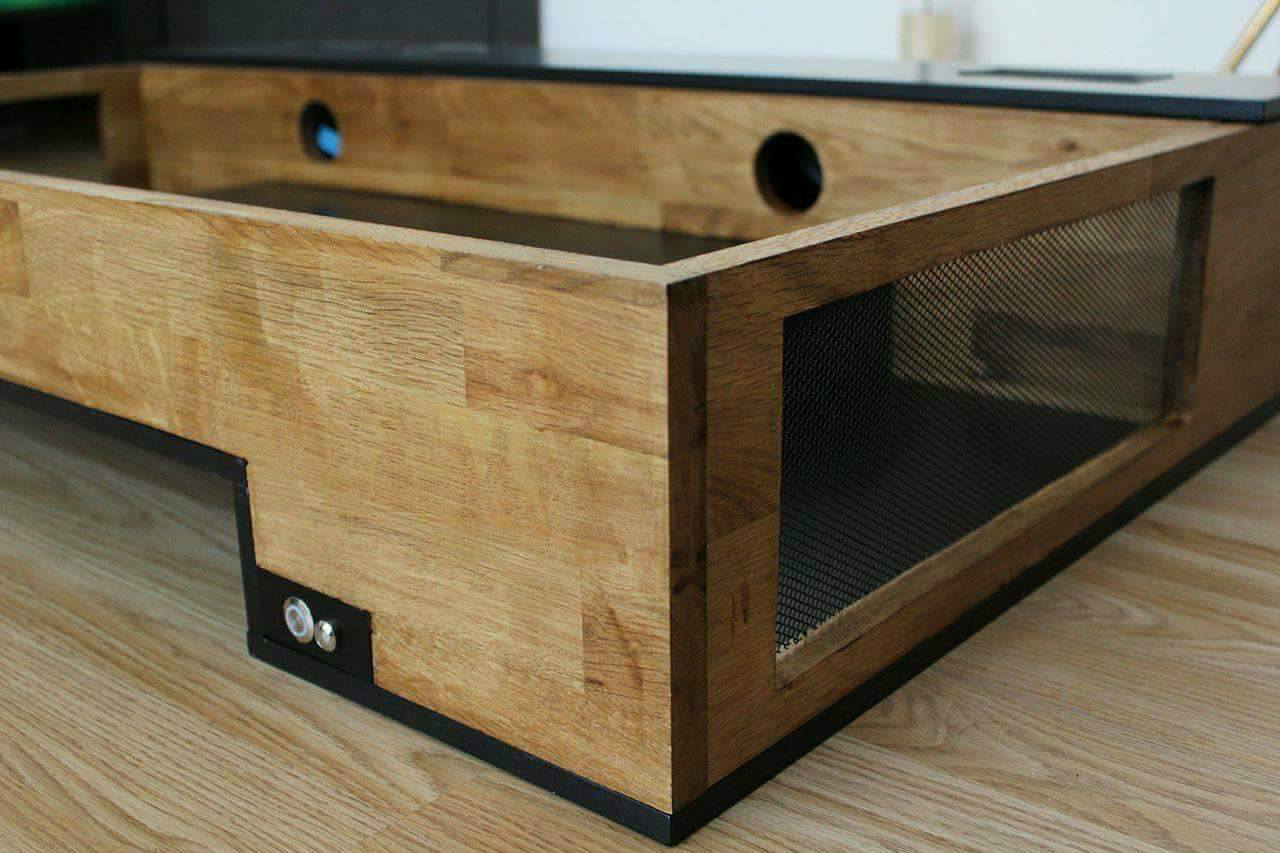
Power and reset buttons were fitted on an aluminum U profile which was cut, drilled and painted, then mounted on the front wood piece. Cables were also sleeved.
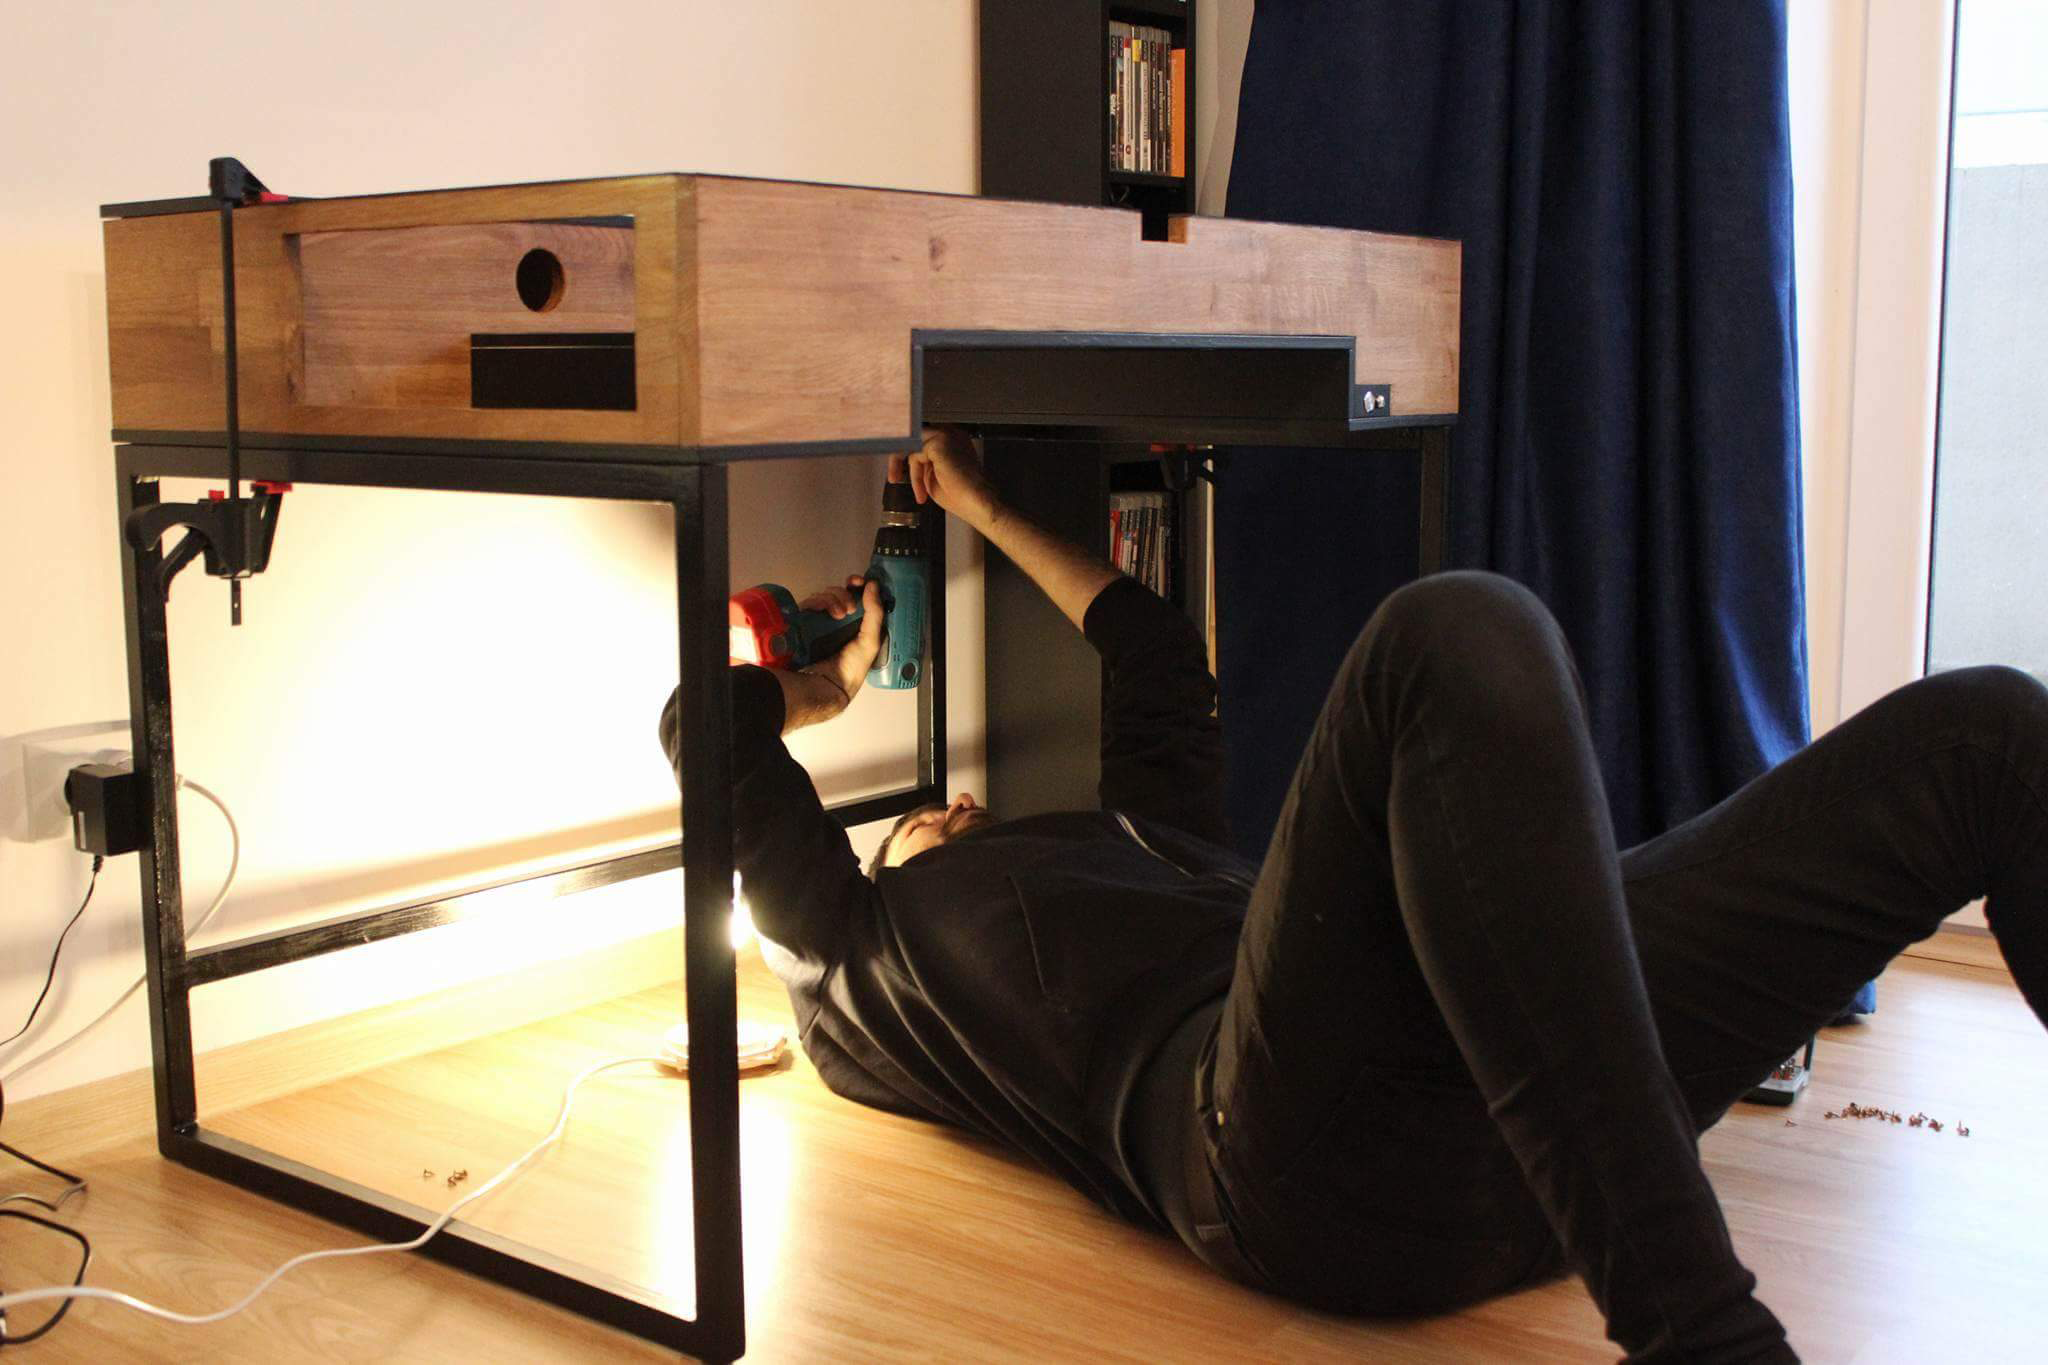
I ordered the steel frame from a local welder. I gave them exact dimensions for each and every part of the frame. After I picked it up, I went back on the balcony and painted it.


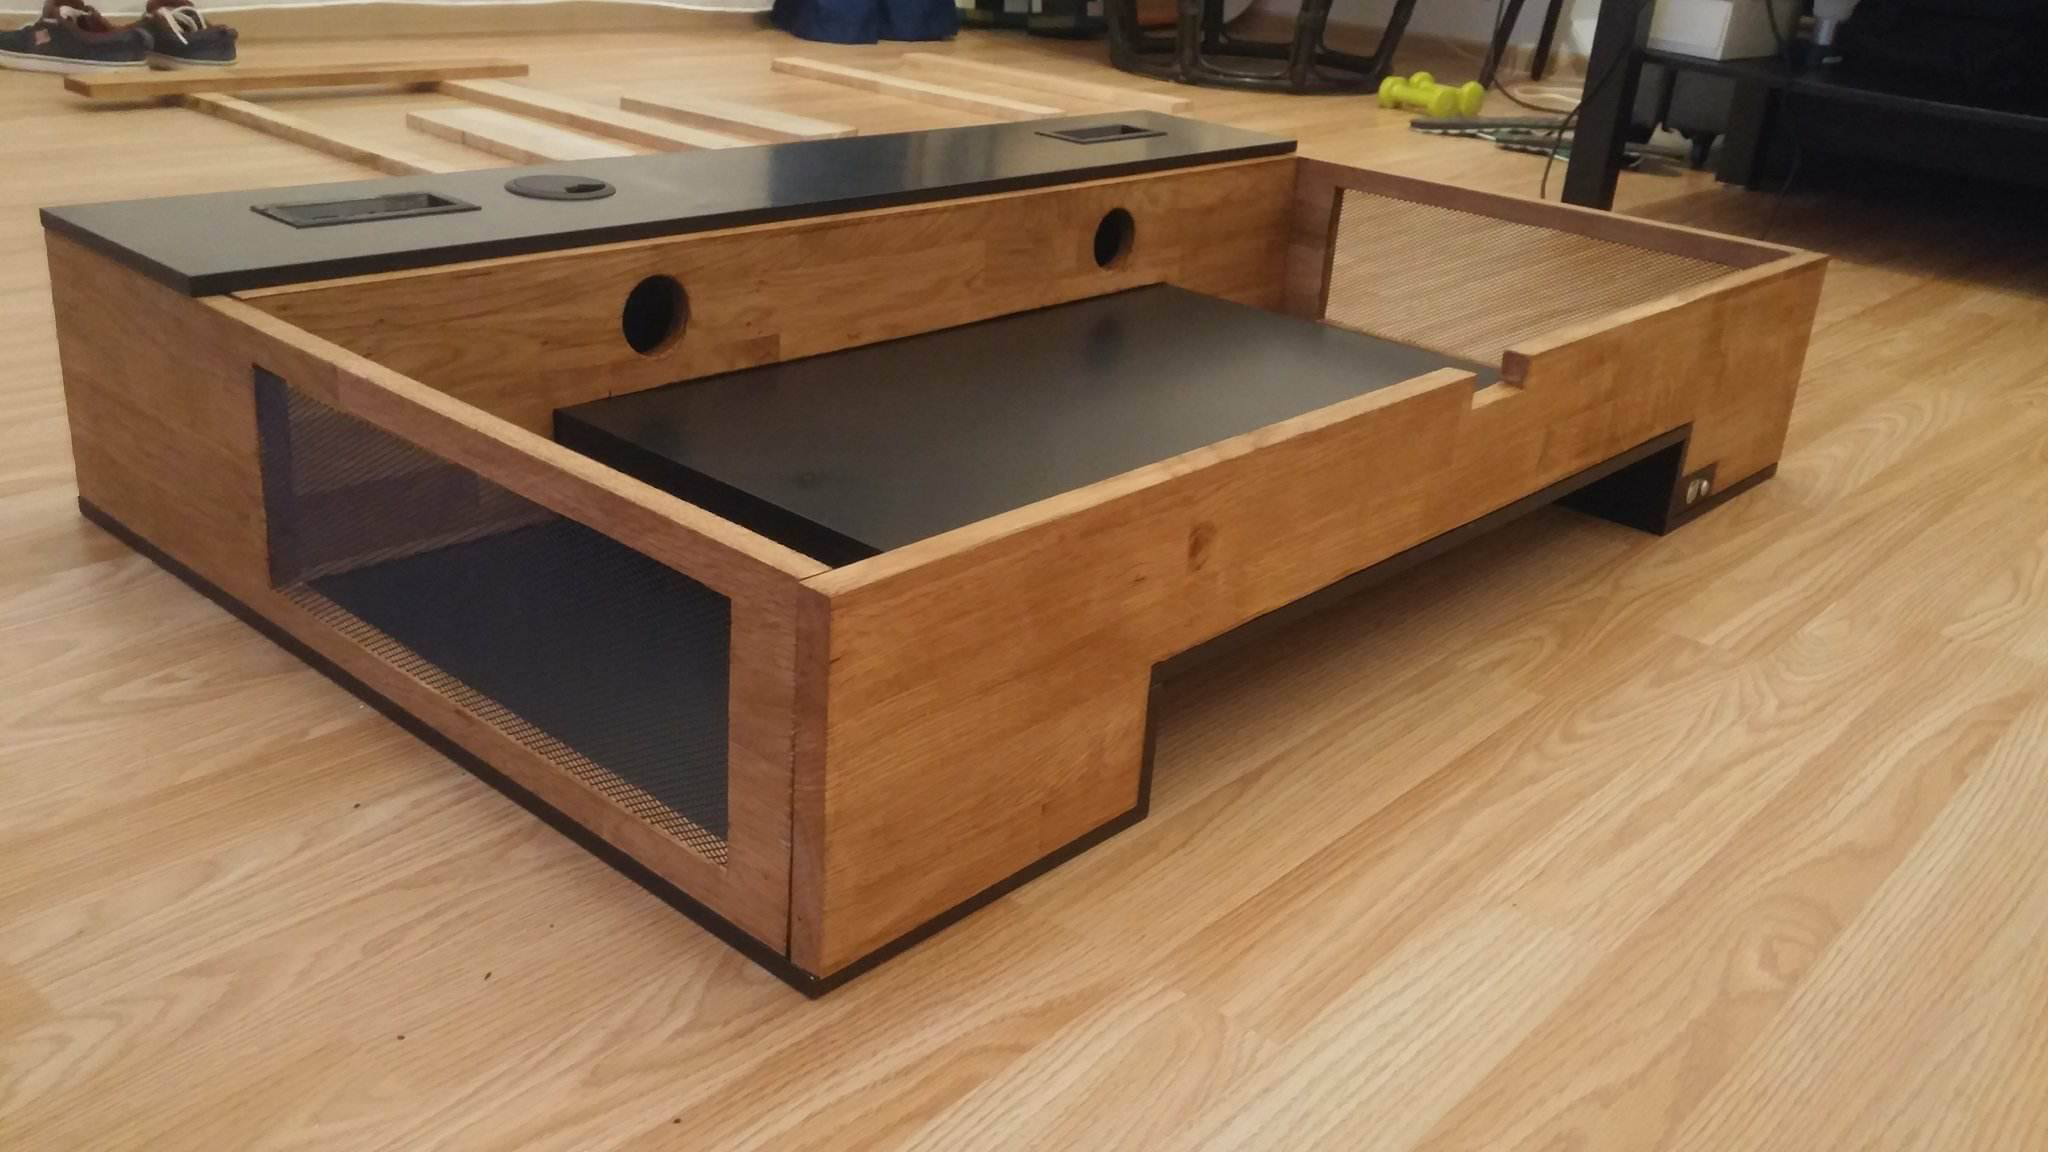
By the time that most of the pieces were done, I started working on the assembly of the desk. I put together all of the wooden and MDF sheets and by this time things were starting to take shape. It was actually looking better than I was expecting.
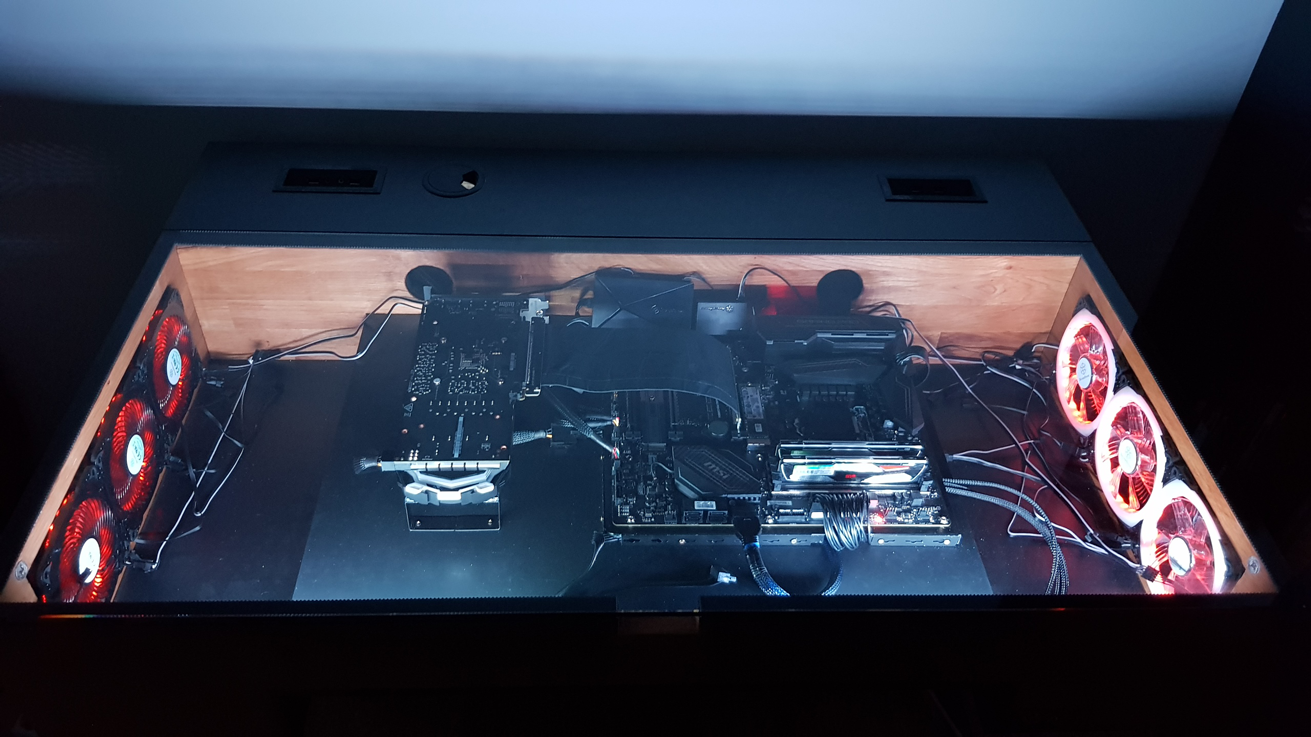
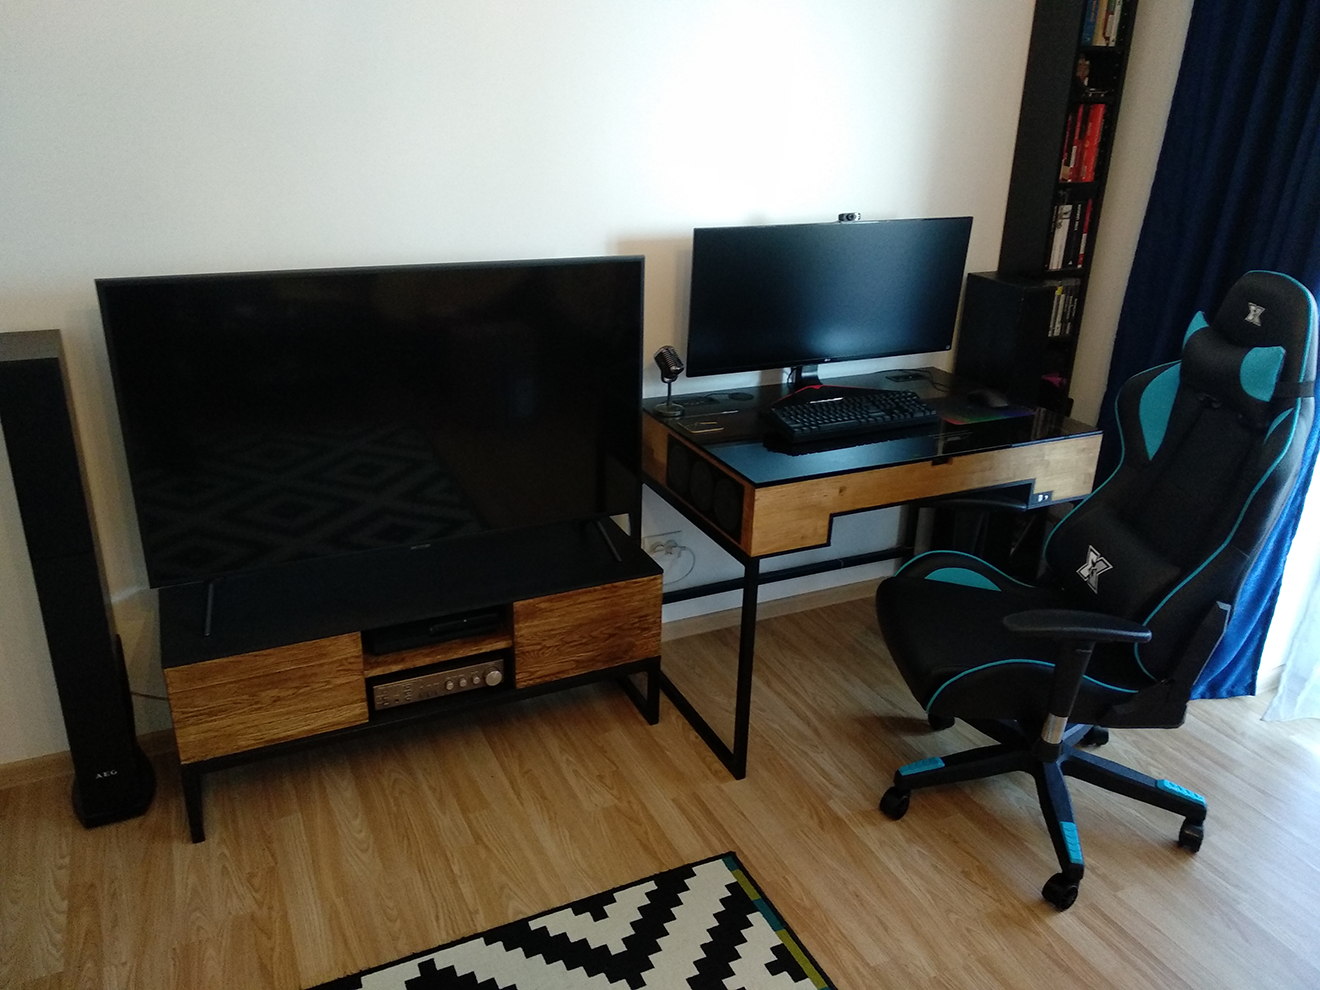
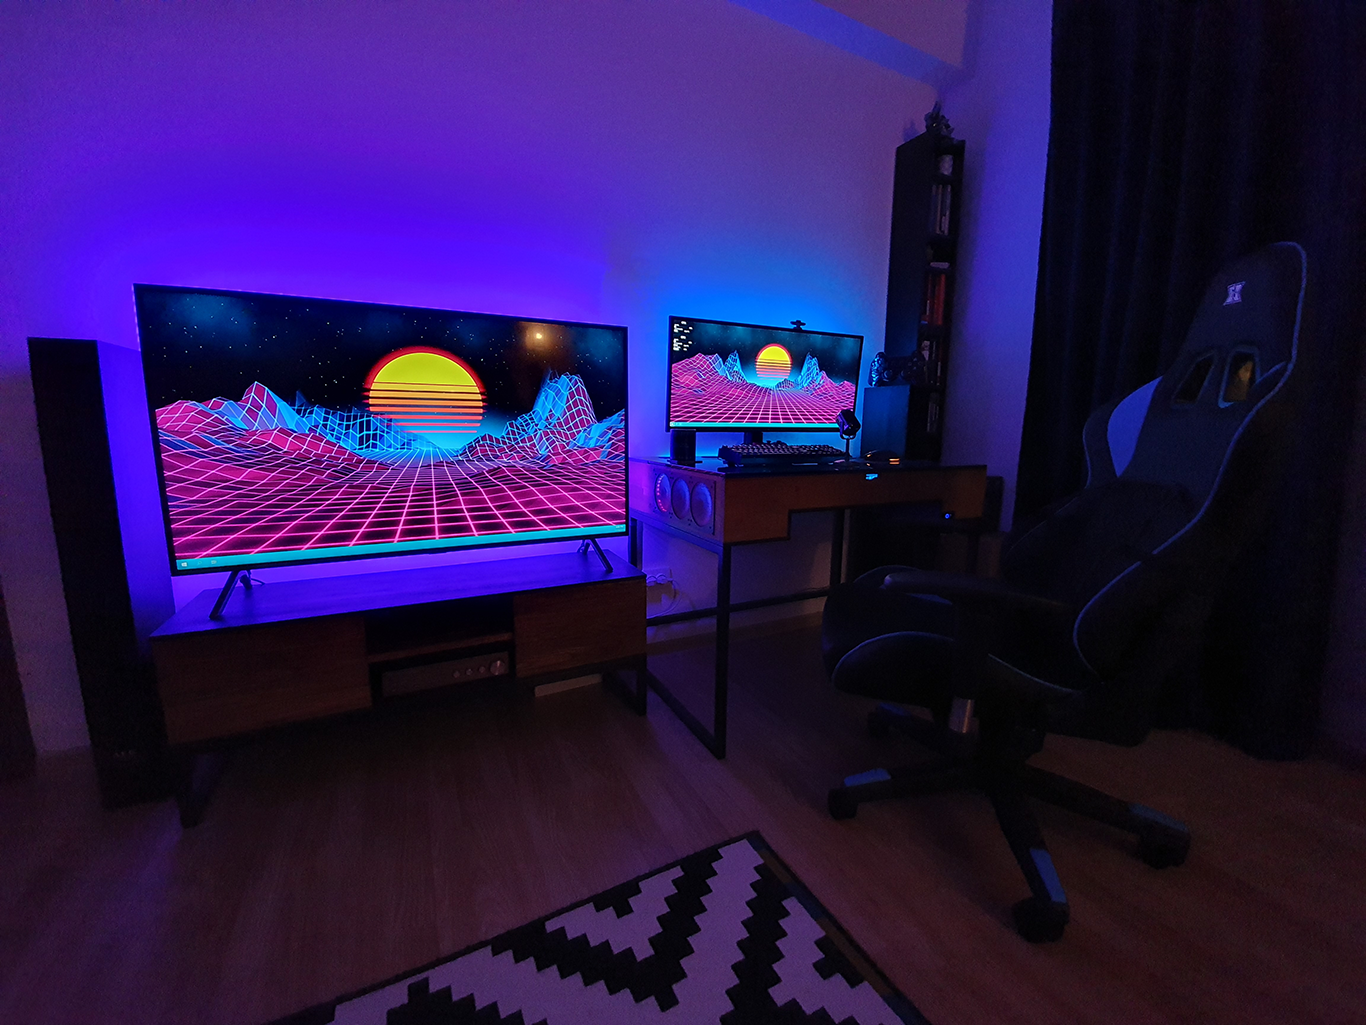
Once I finished assembling the top part of the desk, the tinted safety glass arrived. So I mounted everything on the steel frame and thus, most of the building process came to an end. The hard work that I put in this actually paid off.
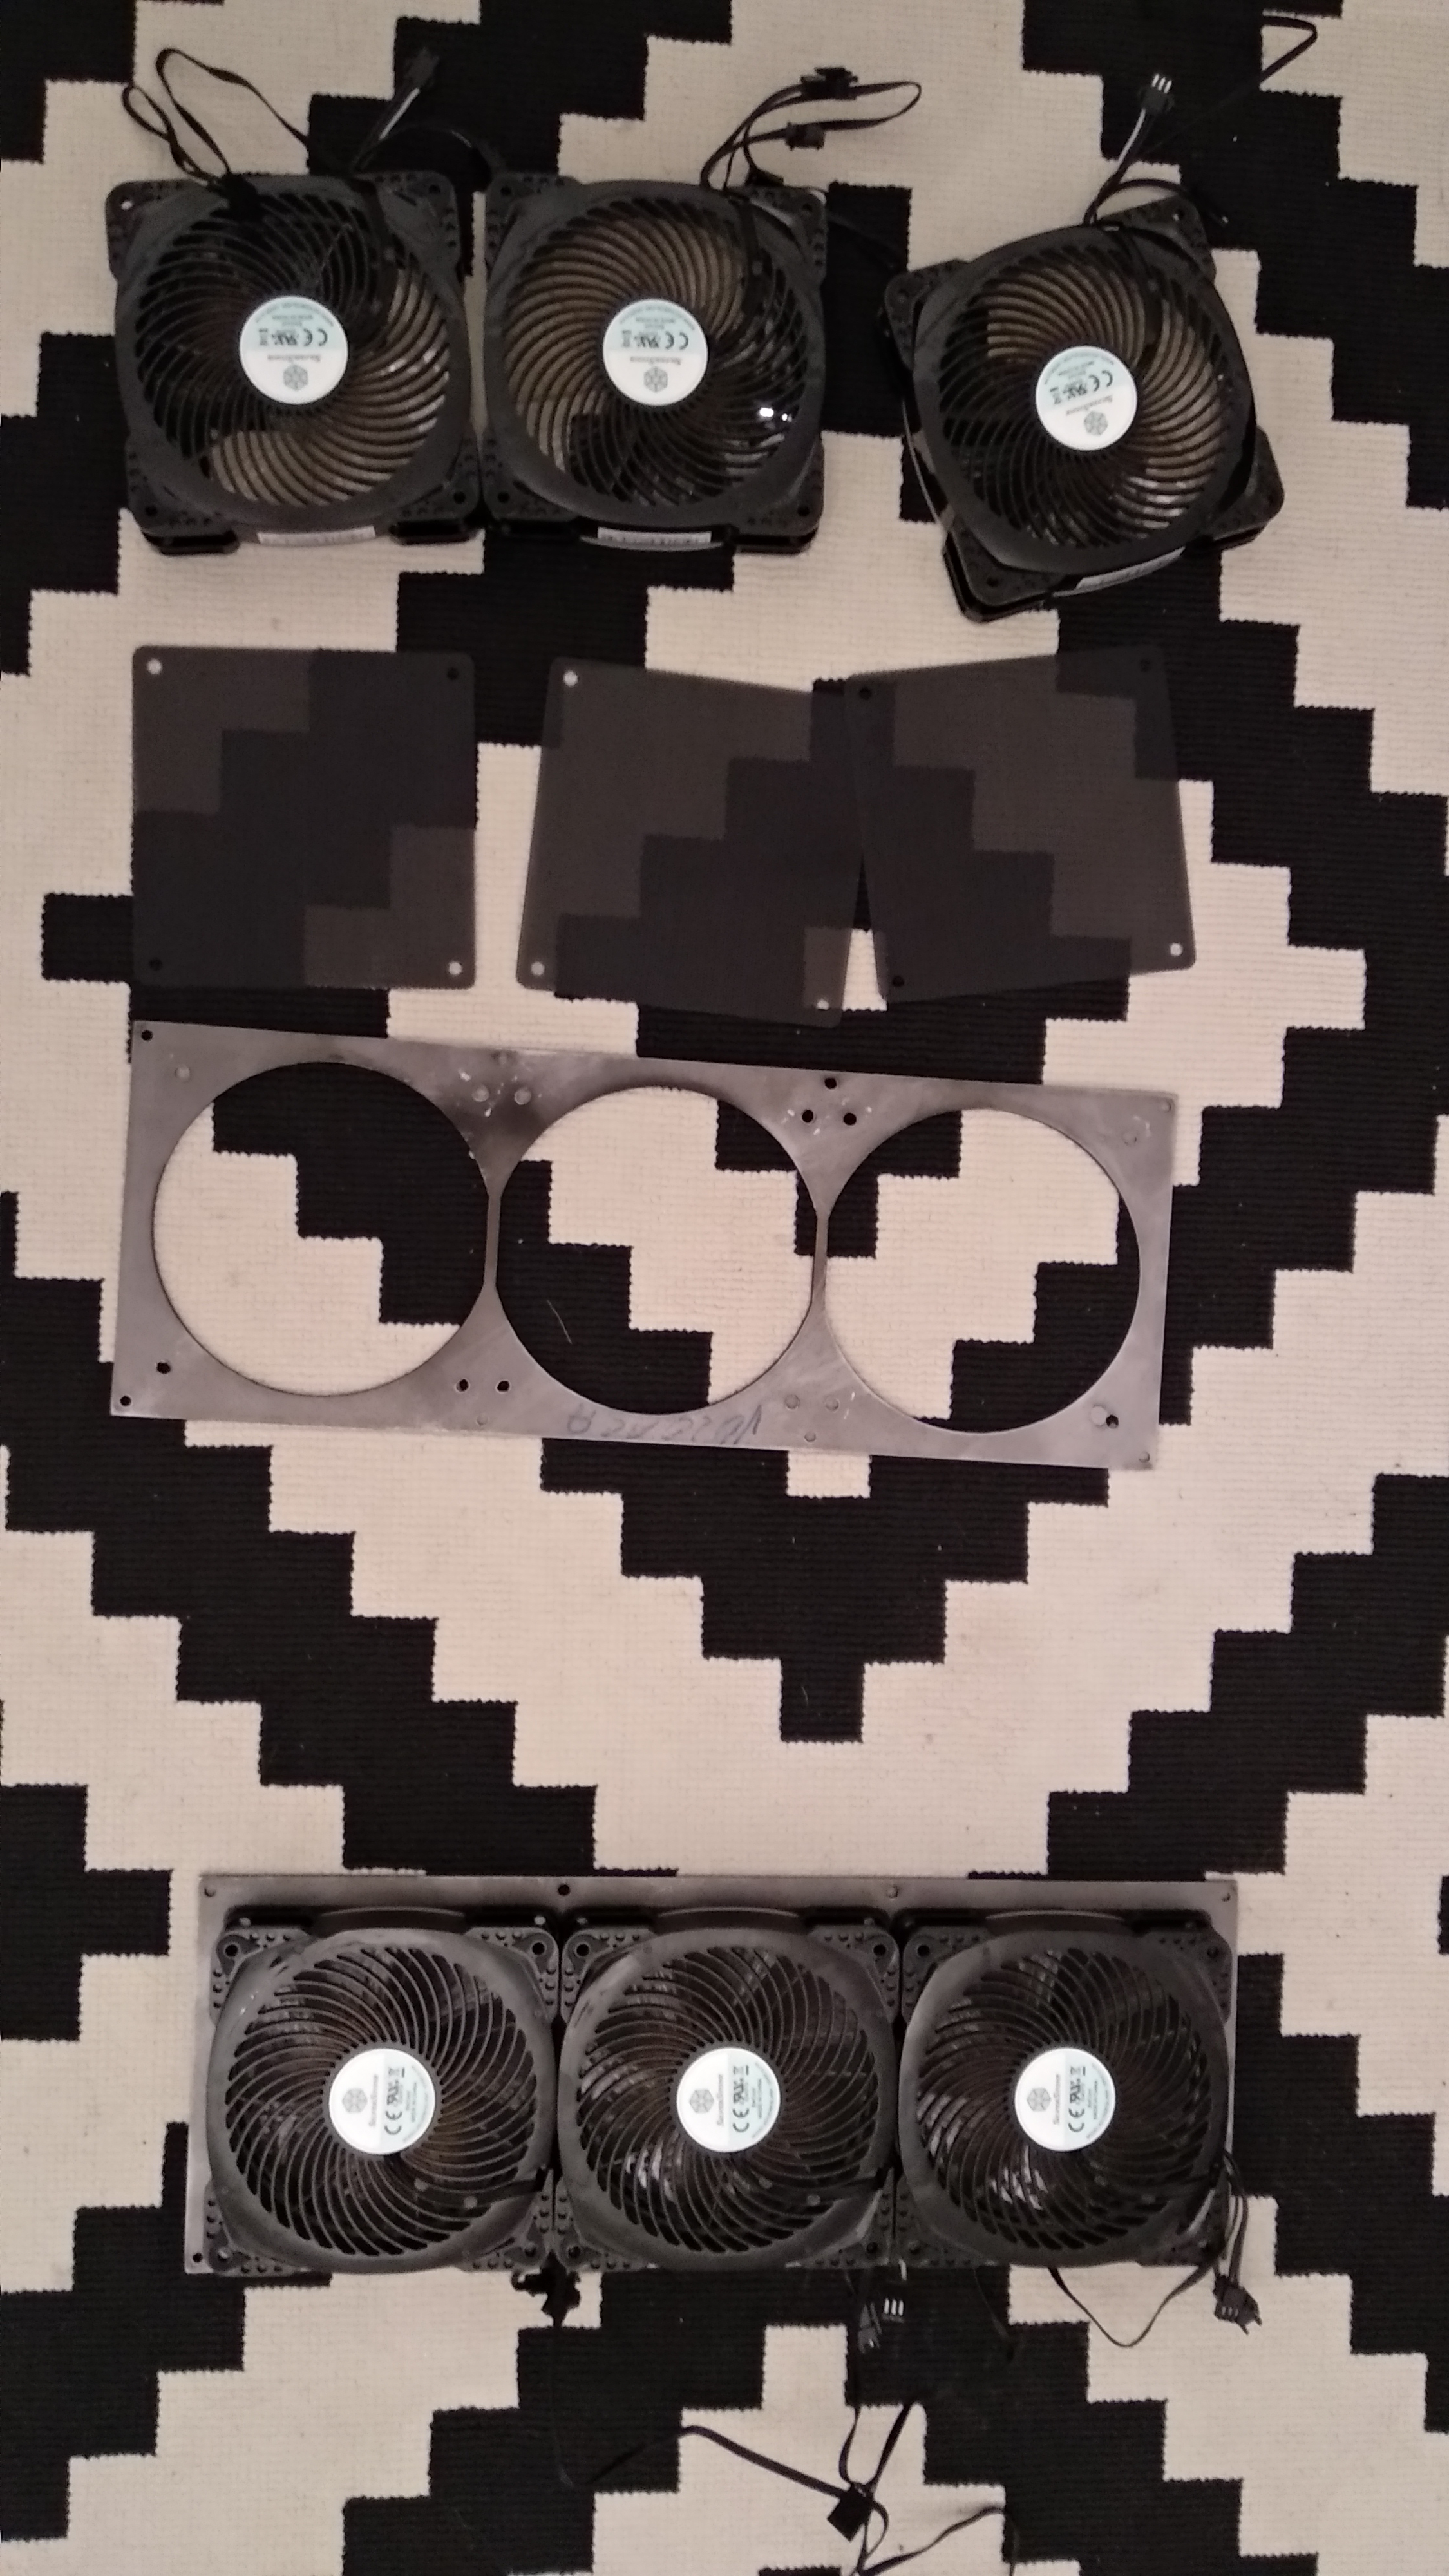
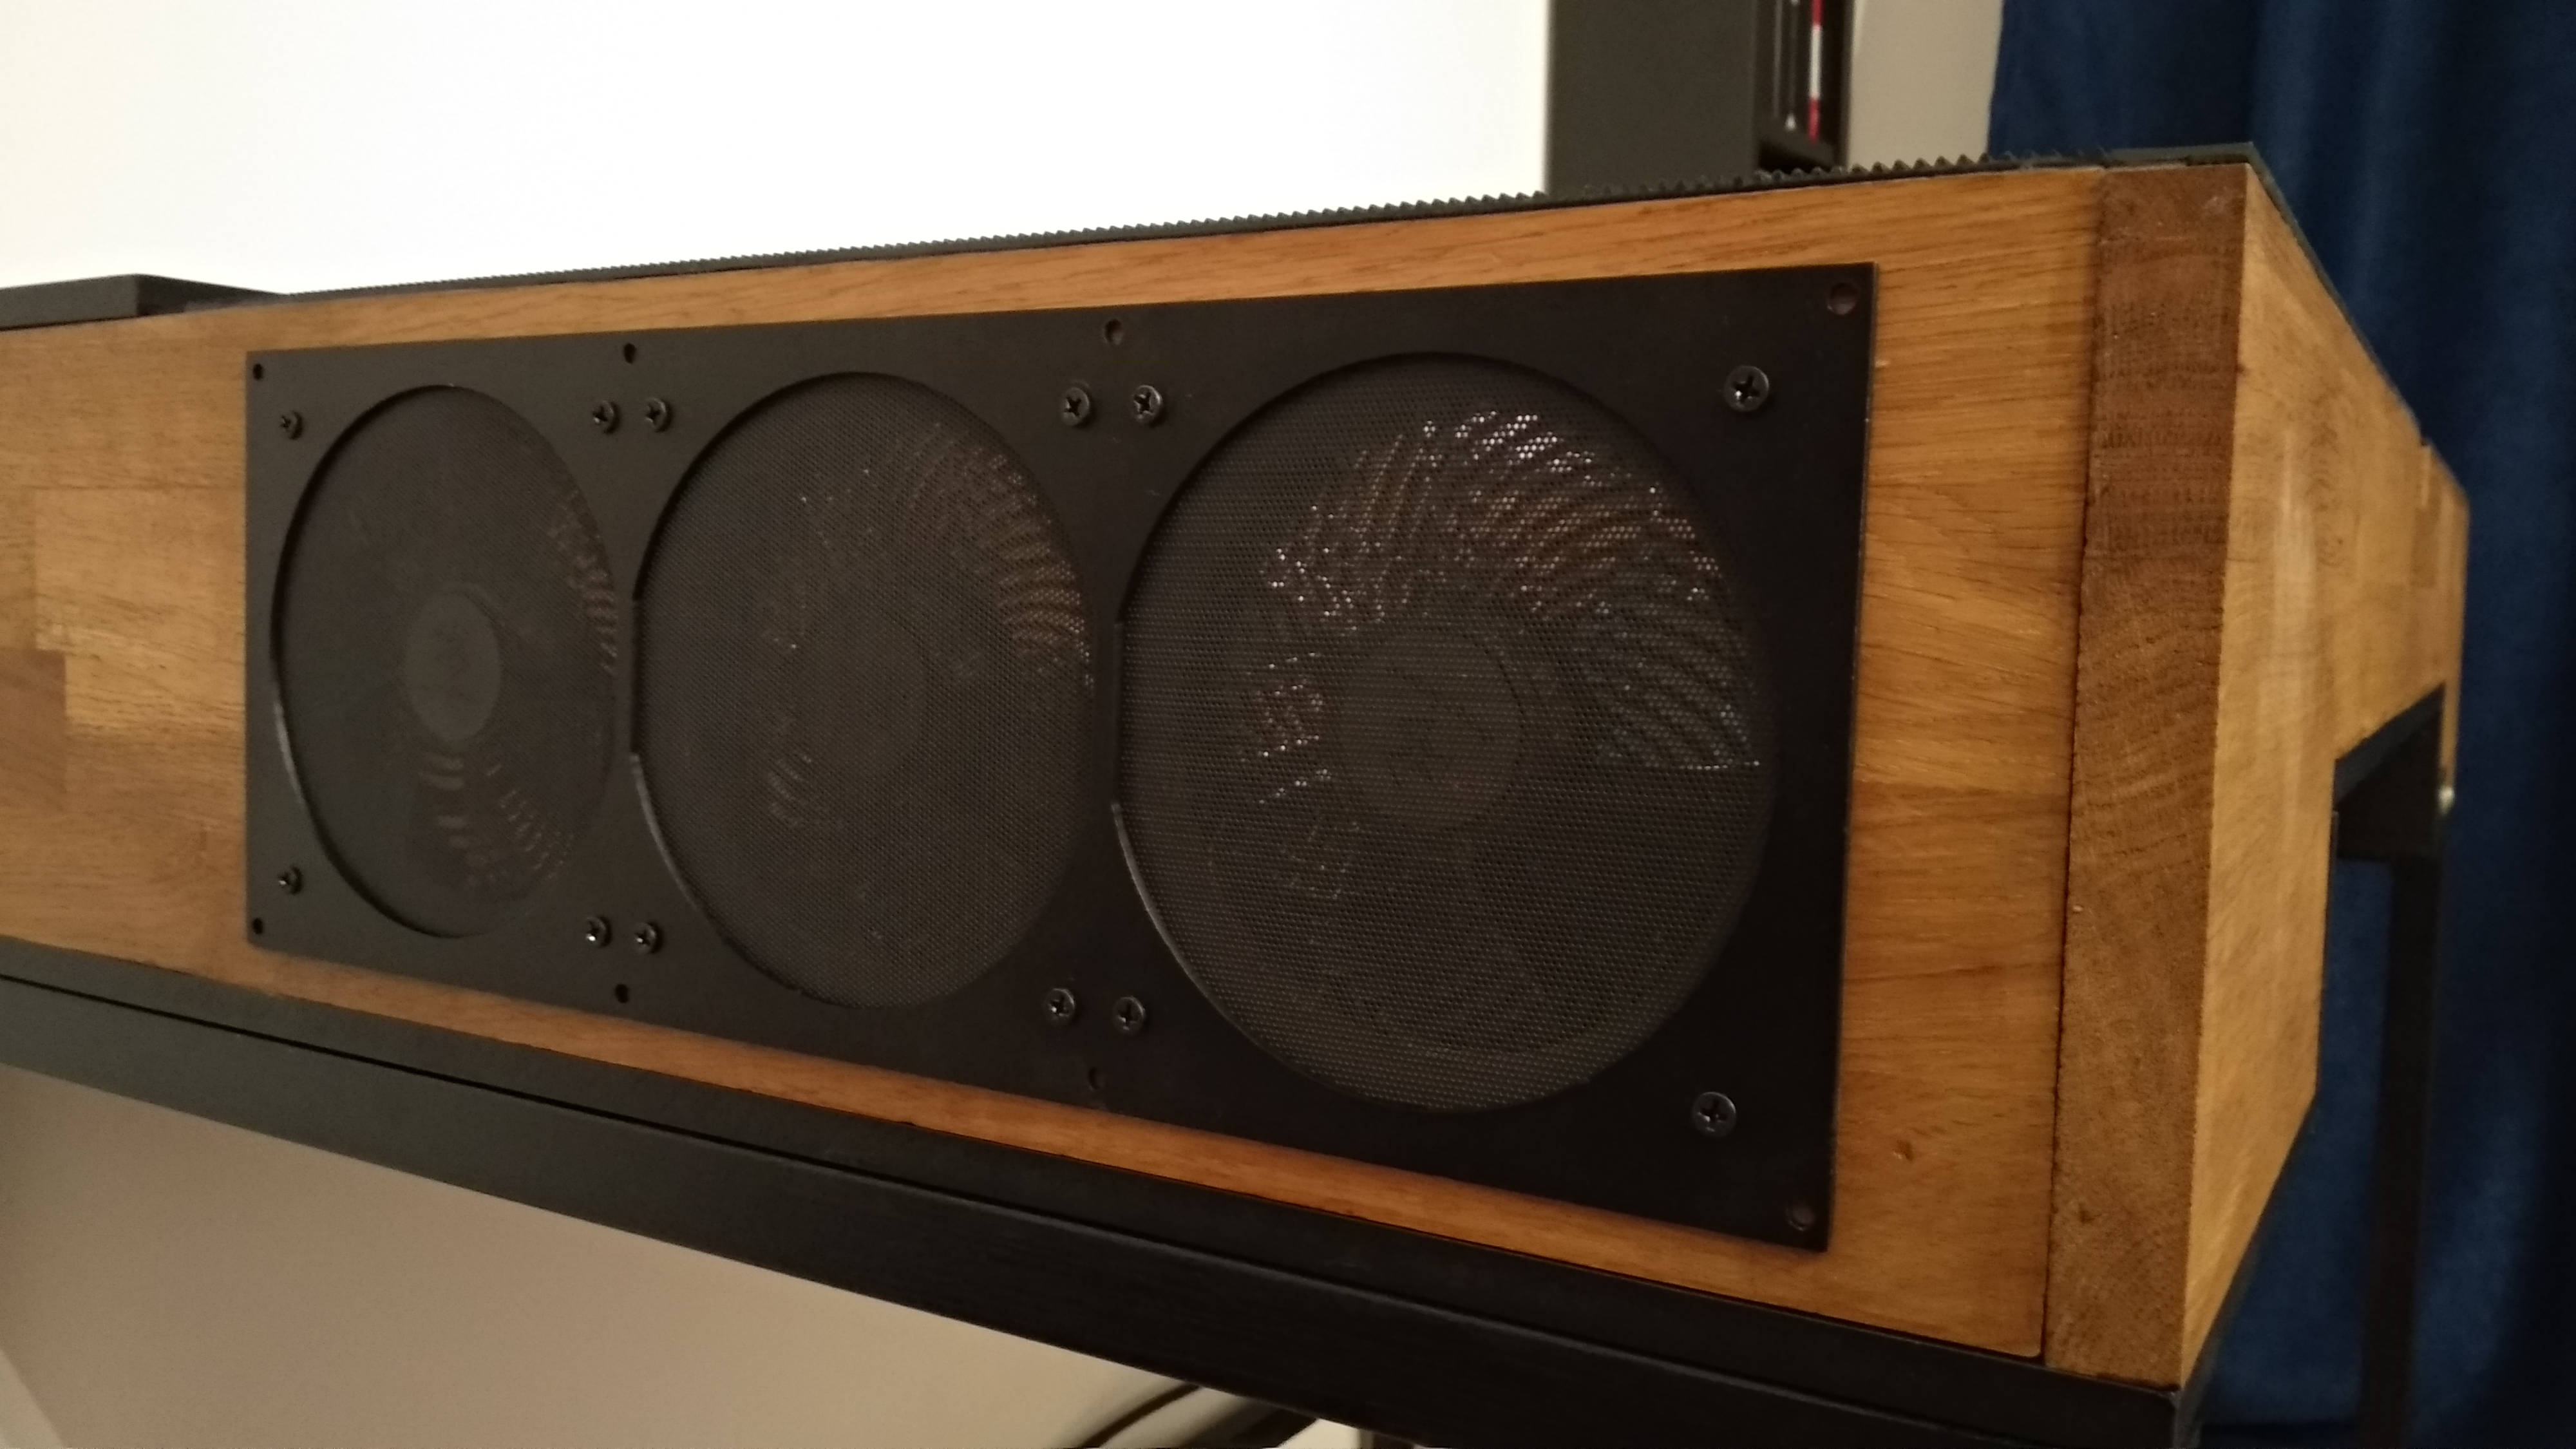
I designed the metal frames holding the fans in CAD and asked a local business to make by using a 2mm steel sheet. This way they will not bend easily as they are mounted on the outside of the desk. I mounted the 6 fans on them, but not before I painted the frames black, so that they would match the entire build.
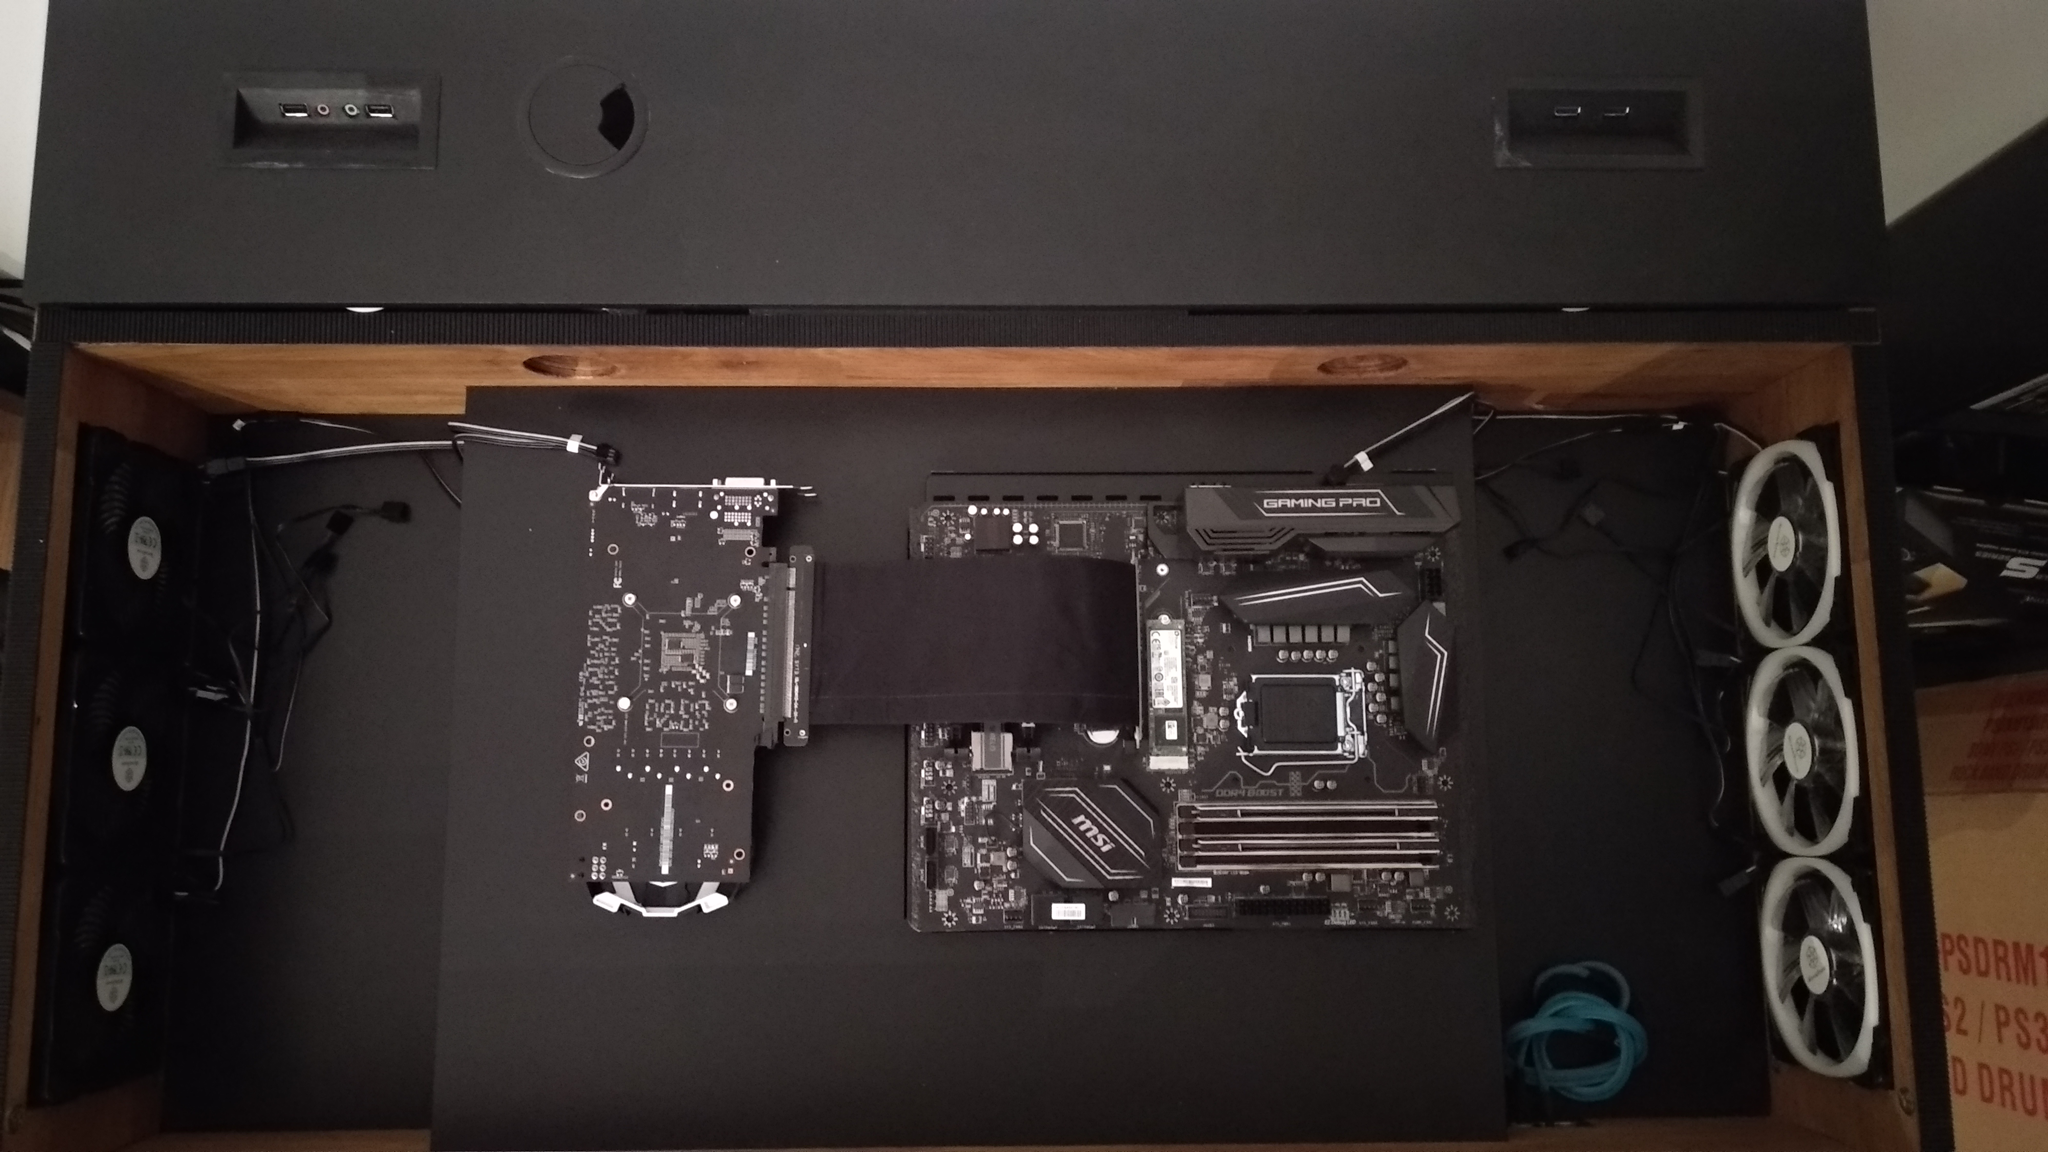
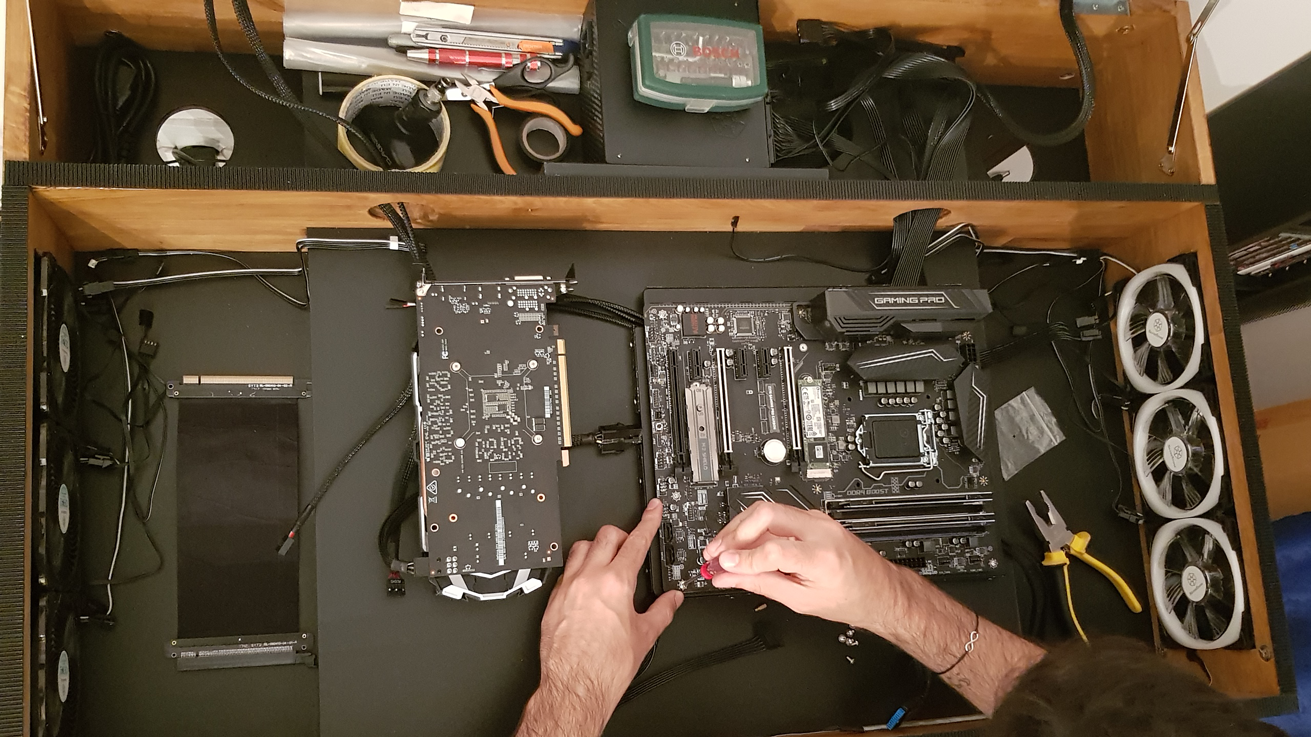
And finally, the PC building part.
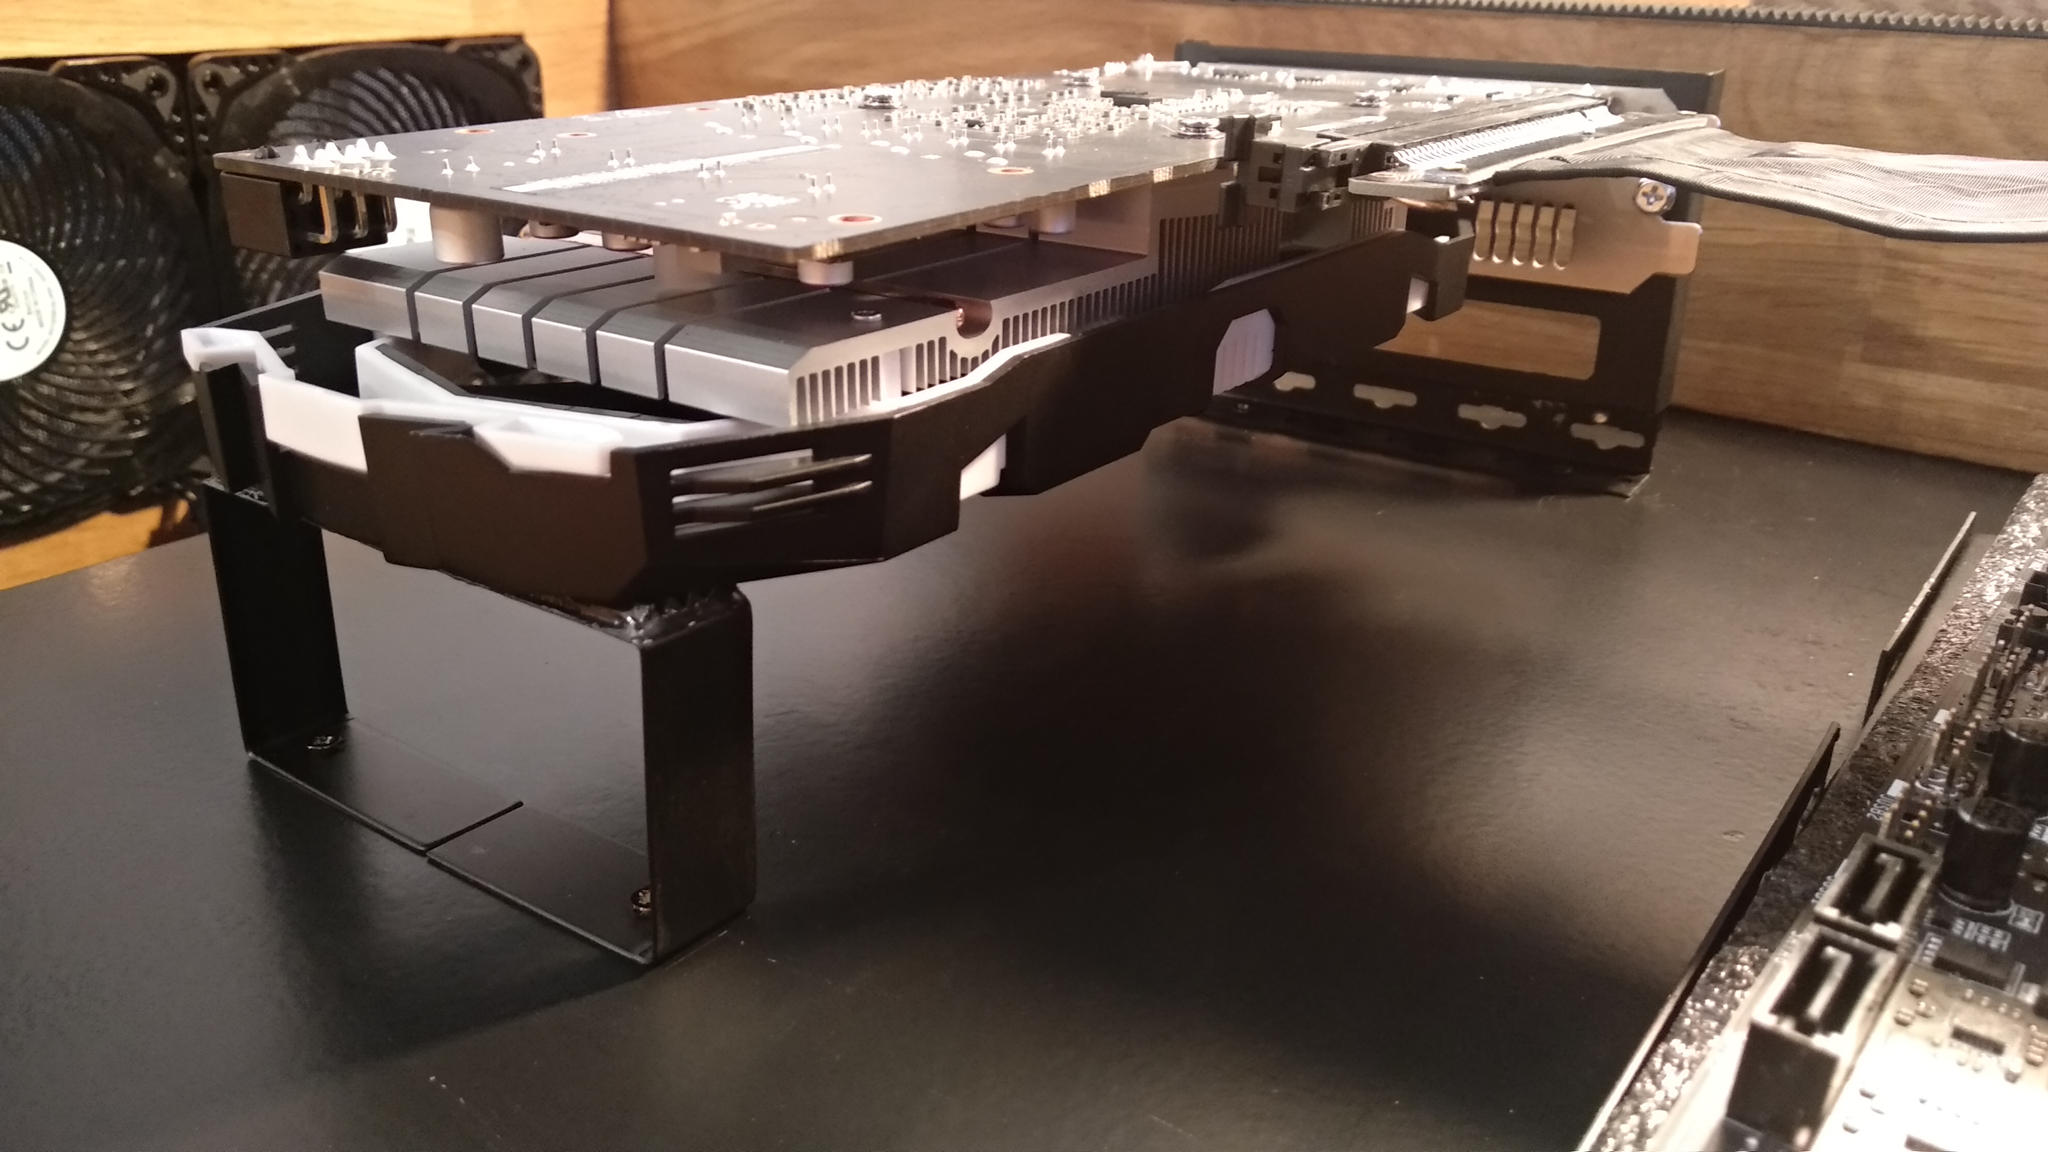
I used a motherboard tray from an old PC case which I cut, and then spray-painted. I attached it to the middle MDF board and did the same with the GPU support that I build by bending a narrow aluminium sheet and a tiny rubber piece, to minimize vibrations.
Cables run under the motherboard tray, to reach the front side of the motherboard, drives and GPU's power socket.
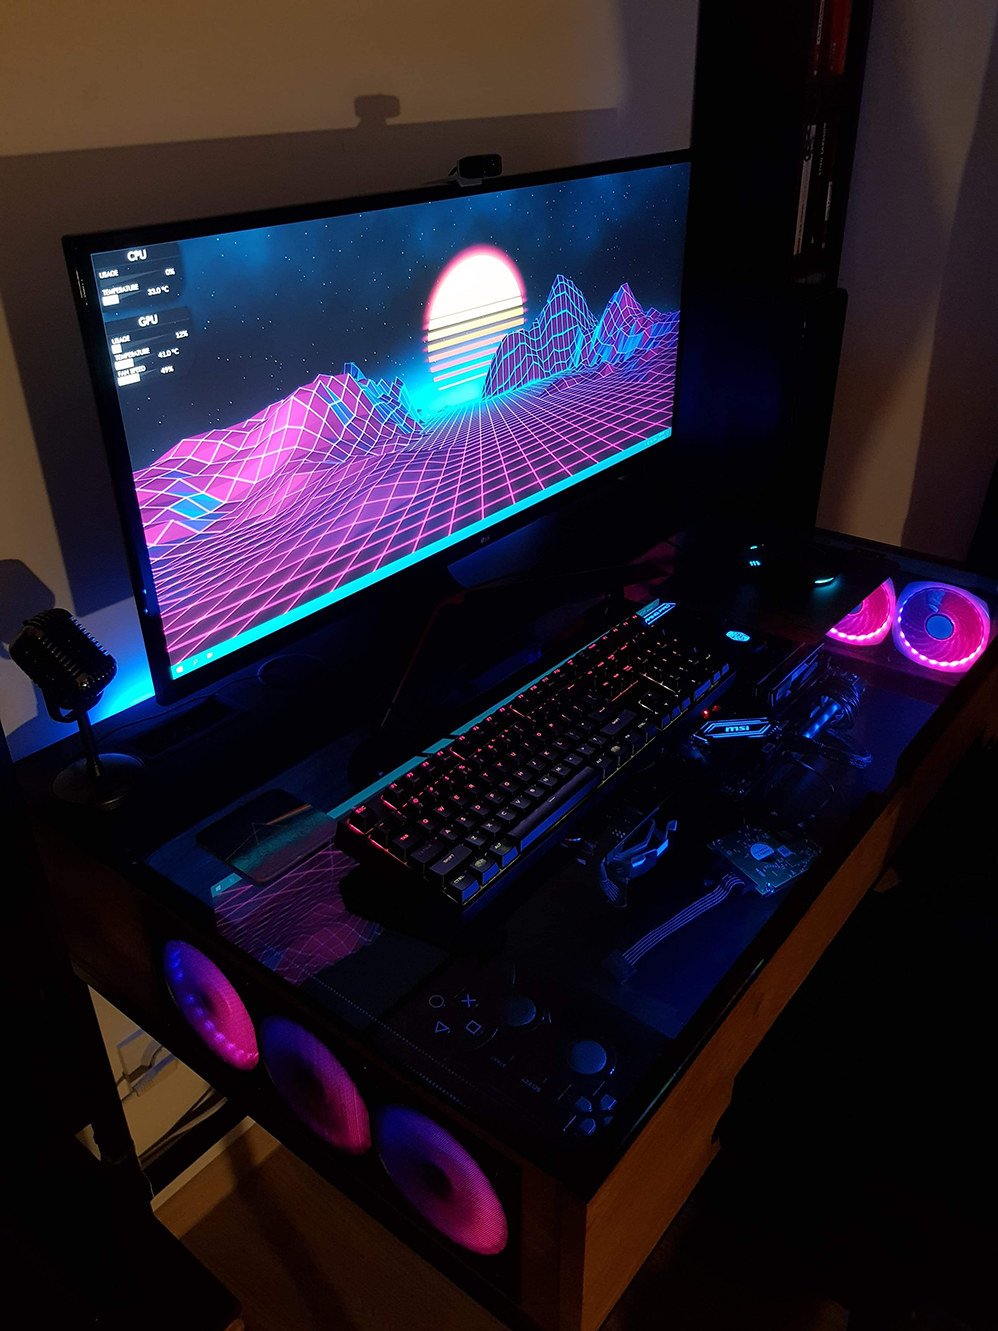
A few more modifications and additions to manage cables properly and it's done. 'OMG, it works!' I was so excited when I first pushed the power switch and saw the 'No Operating System detected' message.


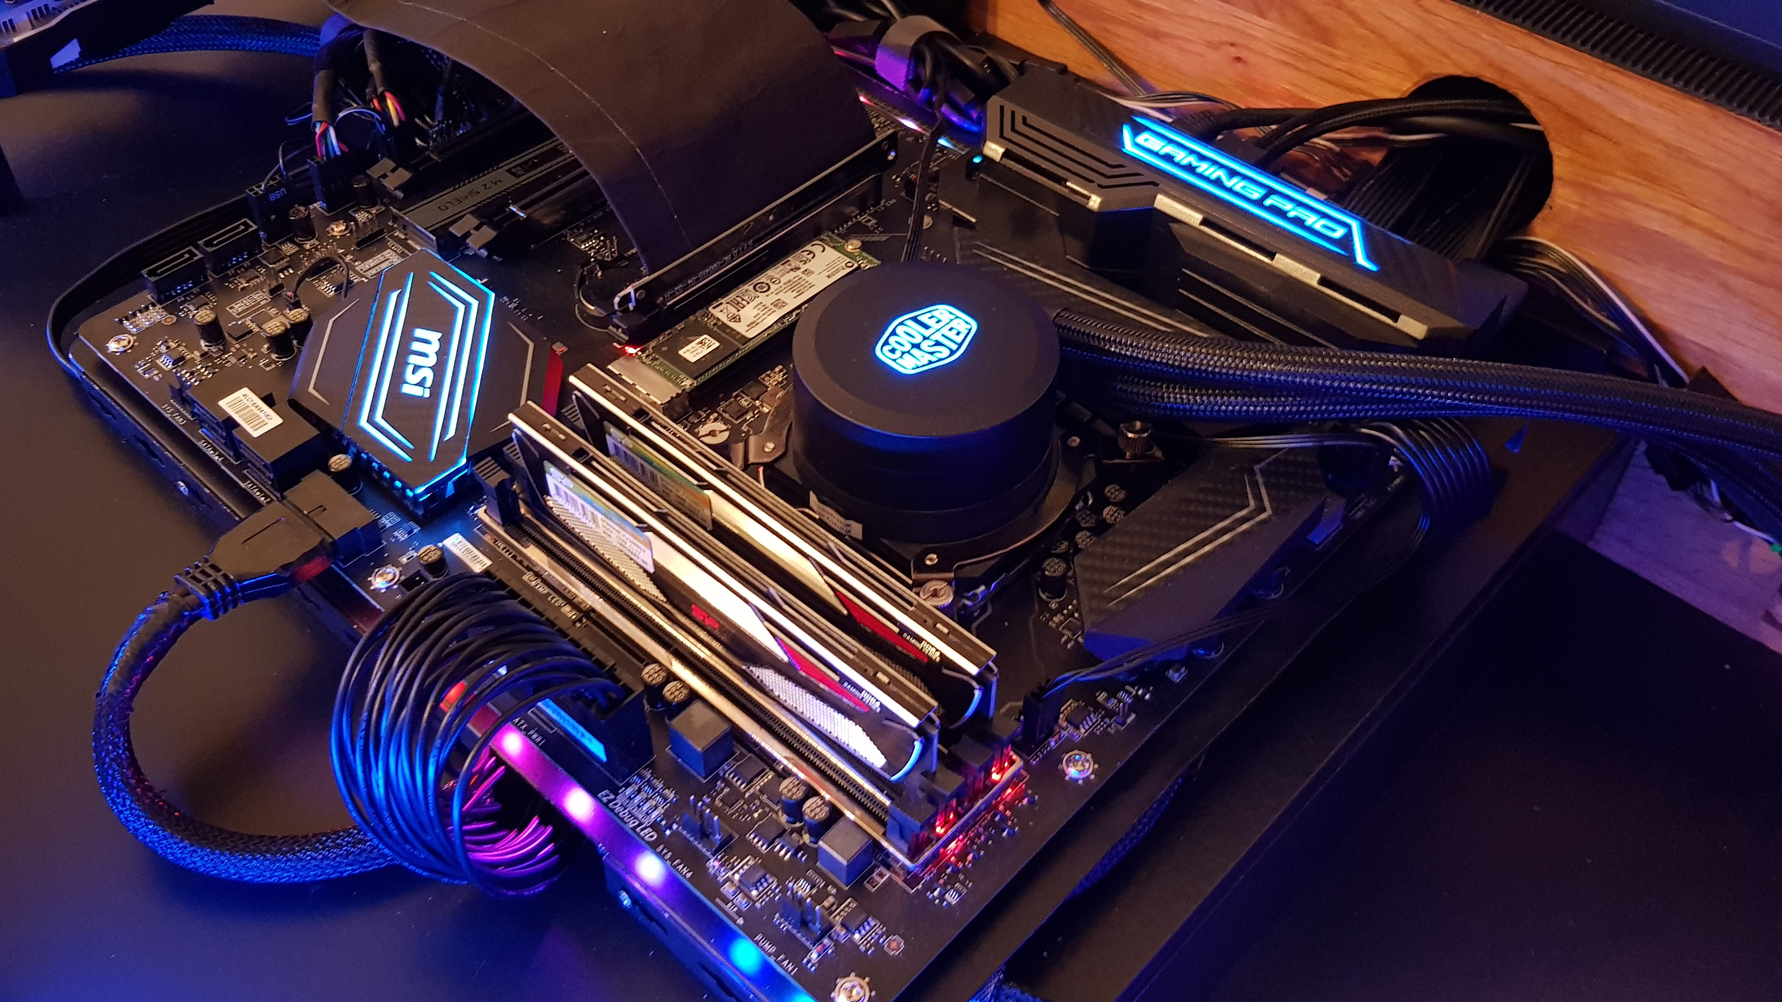


Motherboard: MSI Z270 Gaming Pro Carbon
GPU: MSI GeForce GTX 1060 6GT OCV1
RAM: Silicon Power Dual Channel 16GB DDR4 Unbuffered DIMM (Heatsink)
Storage: Plextor M8SeGN 256GB M.2 PCIe 4x, Seagate BarraCuda 2TB 7200rpm
PSU: SilverStone ST65F-G 650W
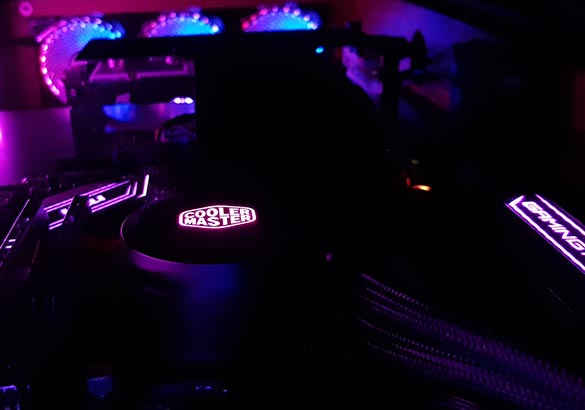
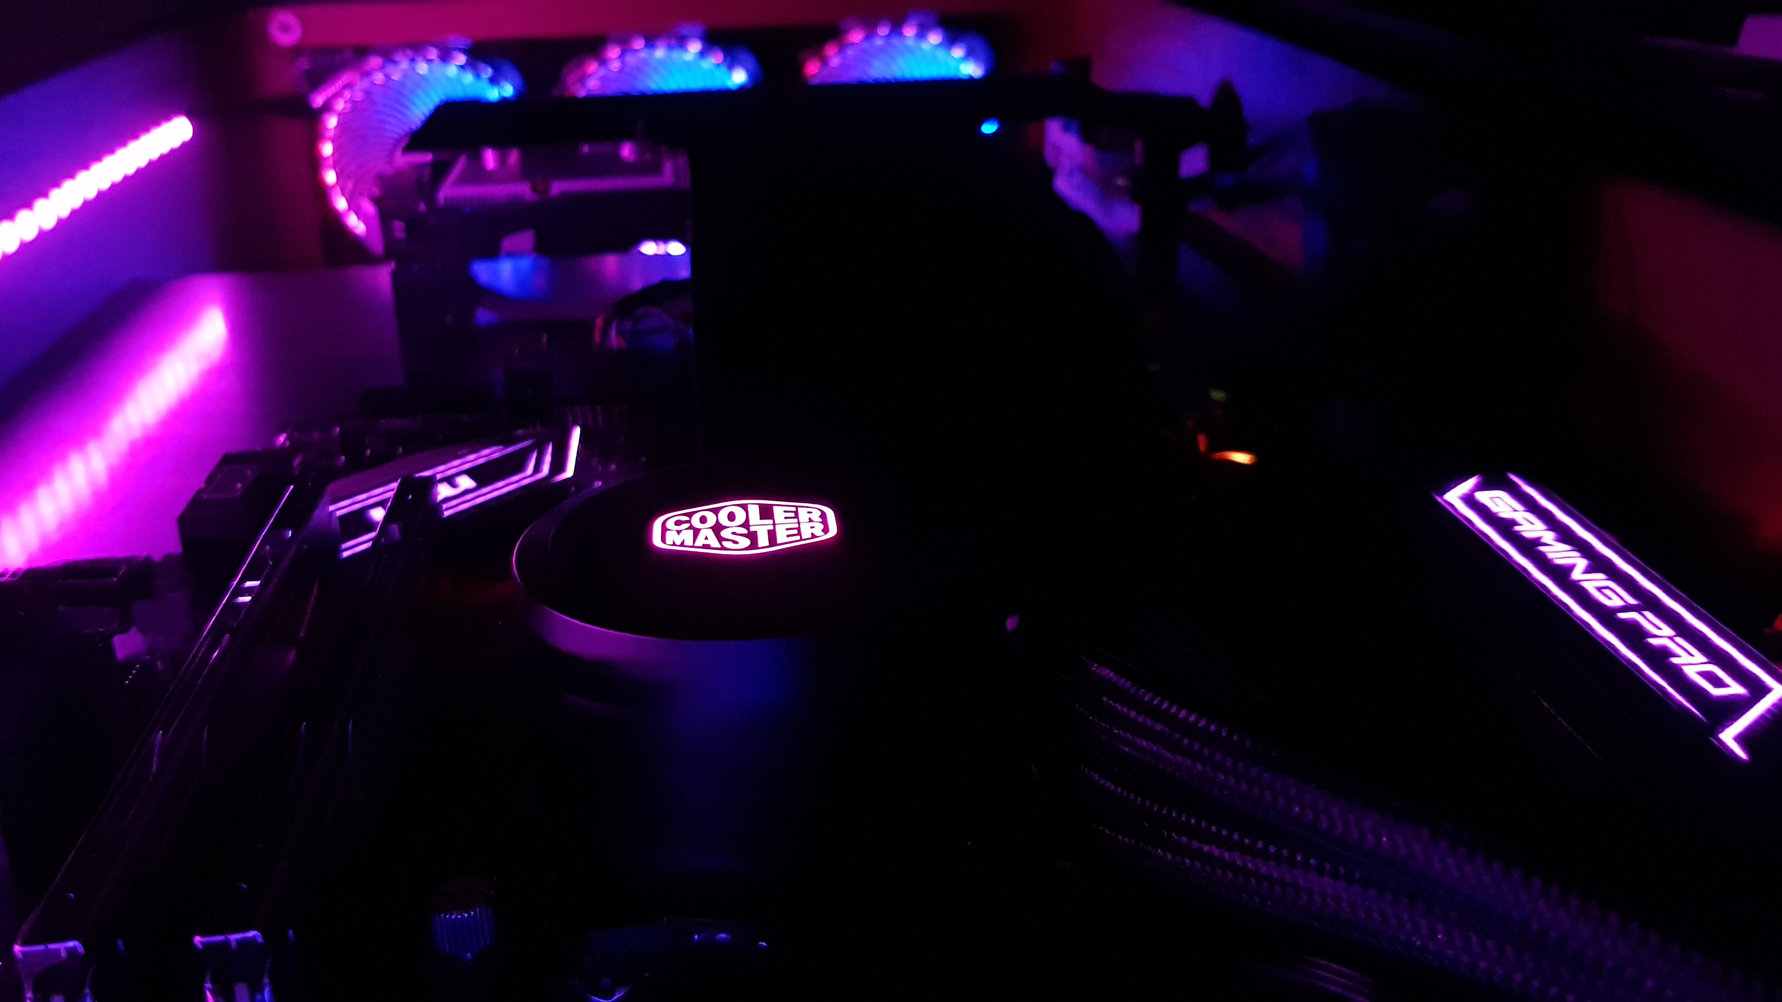
CPU Cooling: AIO Cooler Master MasterLiquid ML120L
Case Cooling: 6x SilverStone AP124-ARGB RGB Fans
RGB: SilverStone LSB01 RGB Controller, SilverStone LSB02 RGB Controller, 4x SilverStone LS02 RGB LED 2-pack Strips
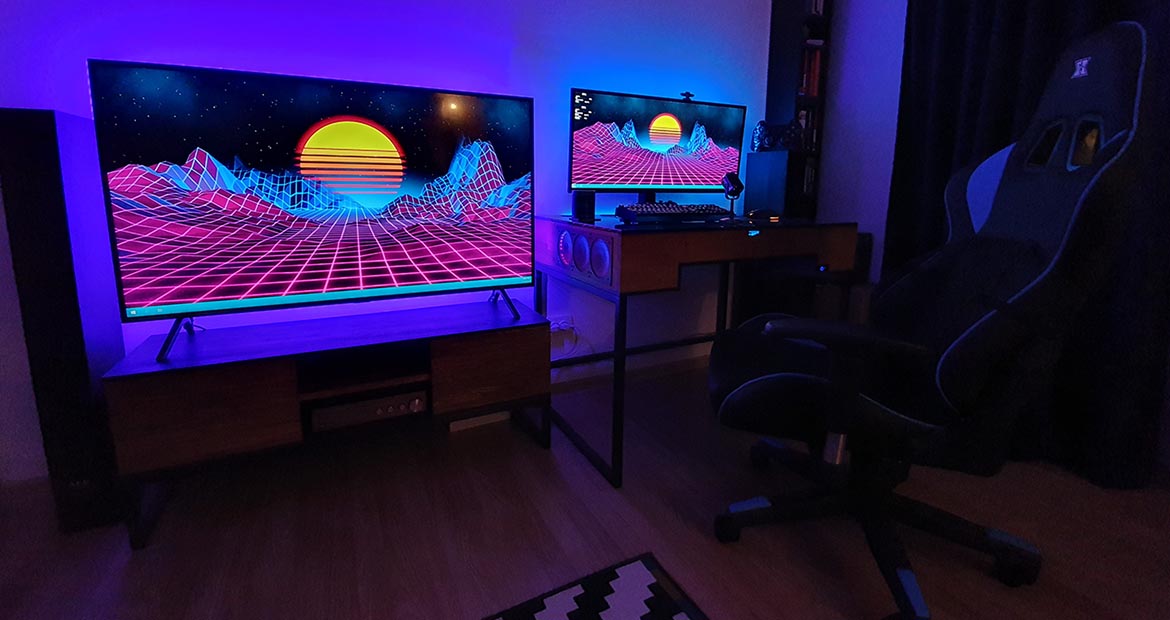
Monitor: LG 34UM69G-B
Keyboard: Cooler Master MasterKeys Pro L RGB
Mouse: Cooler Master MasterMouse Pro L
Mousepad: Razer Sphex v2 Mini
Chair: Serioux Torin Black/Blue